Insulation Tips
How To Create A Podcast Or Recording Studio In Your Own Home

Aug
Have you ever dreamed of recording your own music or creating your own podcast, but are stumped by how to make it work from home? The good news is that creating your own recording studio at home is easier than you might think.
While there’s no lid on the amount of money you could spend on kitting it out with the most expensive gear or doing major renovations to the room, you really don’t need that much to get started. If you’ve got passion to create and know what the essentials are, you’re off to a great start.
Check out our 4 steps for creating a recording studio in your own home.
Step 1: Choose The Right Space
The first step for any home recording studio should be choosing the right space to set up in. Granted, you might only have one room that you can set up in, but if you have a choice, you should consider your options carefully. After all, you’re probably going to be spending a decent amount of time there. It should be a convenient, quiet and enjoyable space.
- If you can, choose the quietest area in your home to set up. Consider what noises might disrupt your recording such as street traffic, neighbours or members of your family. There are ways to combat noise, but more on that later (Step 3).
- Give yourself more room than you think you’ll need incase you want to expand later on with more equipment. Plus bigger rooms sound better.
- High ceilings, asymmetrical walls and irregular surfaces are the best for getting nice acoustics. You might not be able to tick all these boxes, but when you have an option, choose the one that has the best natural acoustics.
Step 2: Get The Essential Gear
While it’s easy to go overboard and spend a lot of money on gear, you can actually create a decent home studio with a limited budget. Focus on investing in the essential gear that suits your needs best. Here are our top picks for the most important gear in a home recording studio:
- A Computer – essentially the more power the better, but if you’re hoping to stick to a budget, chances are you already have a computer that will get you started. Mac or PC doesn’t really matter – choose what you’re familiar with.
- DAW (Digital Audio Workstation) – this is the software you will use to record, edit and mix music on your computer. Get something that is compatible with your computer.
- Audio Interface – this is the hardware you’ll use to connect your computer to the rest of your gear. You can buy your audio interface and DAW as a combo, or separately.
- Headphones – invest in a good pair of headphones so that you can hear what you’re making. Closed back studio headphones are essential.
- Studio Monitor Speakers – you may be ok just sticking with headphones, but mixing can also be done using studio monitors. They provide a neutral sound which helps with making better judgements when you mix.
- Microphones – there are different mics for different purposes, but you really only need 1 or 2 to get started depending on the instruments you want to record. Condenser mics are best for getting high-frequency detail, and dynamic mics are great for more isolation on the vocals, such as for podcasts.
- Pop Filter – to cut out the unpleasant sounds that can be caused by saying “p” and “b” sounds, a pop filter can really help. While it might not be essential, they’re pretty cheap and can make a big difference, especially for podcasts where there is a lot of talking.
Step 3: Optimise The Acoustics
Whether you’re going to be recording voices or instruments, sound is your medium of choice and so optimising the acoustics in your home studio should be top priority. Good acoustics will do more for sound quality than perhaps anything else, so it pays to get it right.
How Does Sound Travel?
Before we get into exactly how to improve the acoustics of your room, a basic understanding of the science behind acoustics is important. When you make a sound inside a room, sound waves project outwards in all directions until they hit different surfaces of the room. While your microphone might pick up some direct sound waves from the sound you made, it will also pick up the reflected sounds that are bouncing off different surfaces in the room.
The direct sound is great, but the reflected sounds can cause issues with your sound quality. To combat sounds reflecting off different surfaces, you can install sound absorbing materials in your home studio. Instead of reflecting sounds, these materials absorb them and help create a quieter environment.
A sound-proofed room will keep noises from outside out of your studio, and it will help noises from inside your studio stay in so they won’t disturb your neighbours. One important step is to seal up any gaps as sound is notoriously good at travelling through any space it can find. A simple DIY job will do the trick.
What Are The Best Materials For Absorbing Sound?
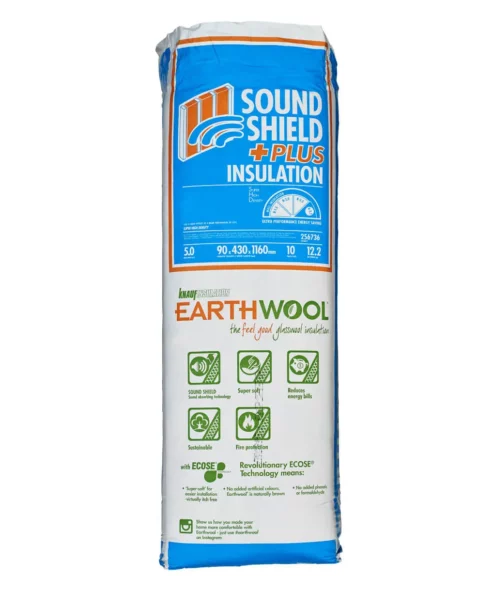
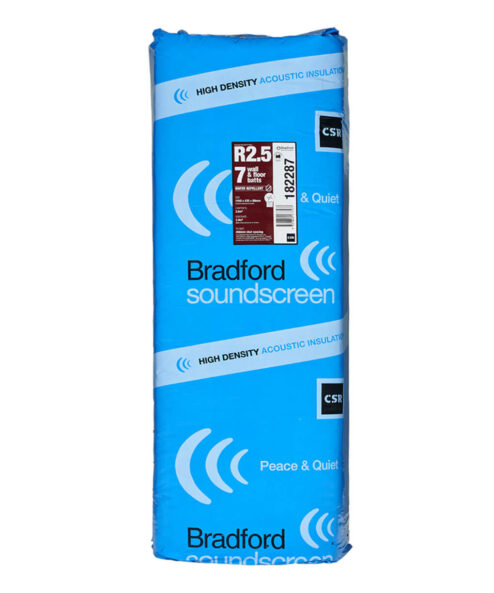
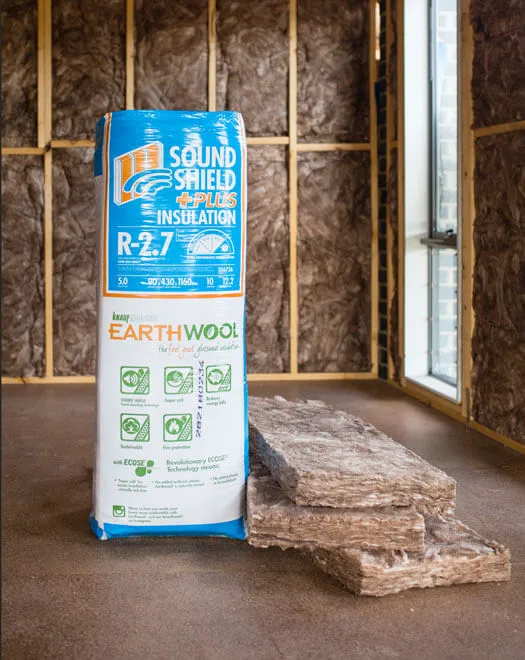
Specialised interior acoustic insulation and acoustic panels such as Autex Quietspace are very effective at minimising reverberated noise and background echo. Not only do they help keep unwanted sounds out, they play a key role in making important sounds have better quality.
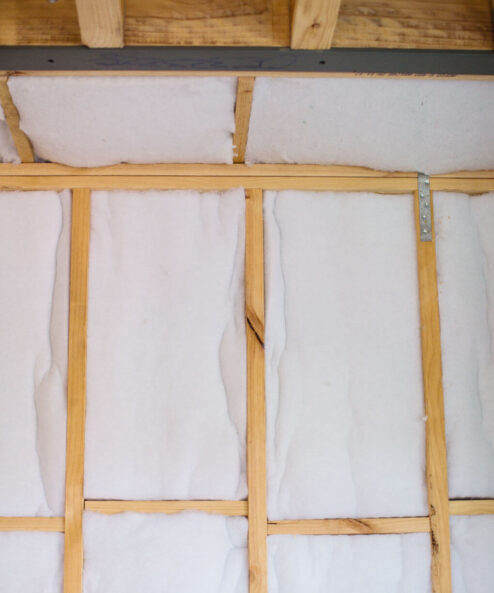
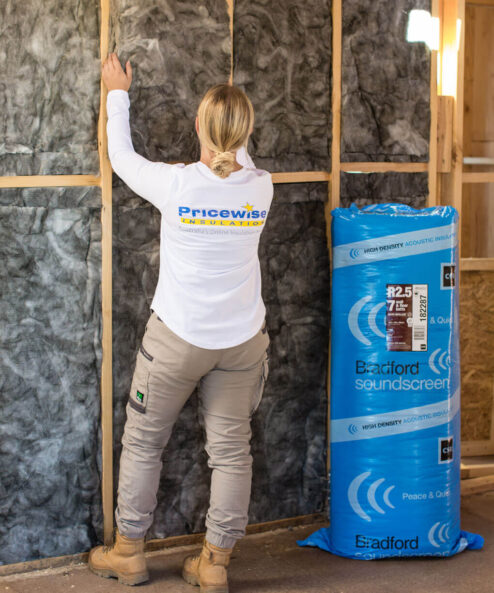
Acoustic insulation batts are installed inside the wall cavity during building or renovation. However, if you want a solution that doesn’t require opening up your walls, interior acoustic panels and tiles are a great choice that help create good acoustics and look good at the same time.
Step 4: Start Creating!
Once you’ve set up your home studio it’s time to make the most of it. A well-thought out studio with great sound quality makes all the difference.
Happy creating!
Featured ProductsBrowse All