
How to Lag a Pipe
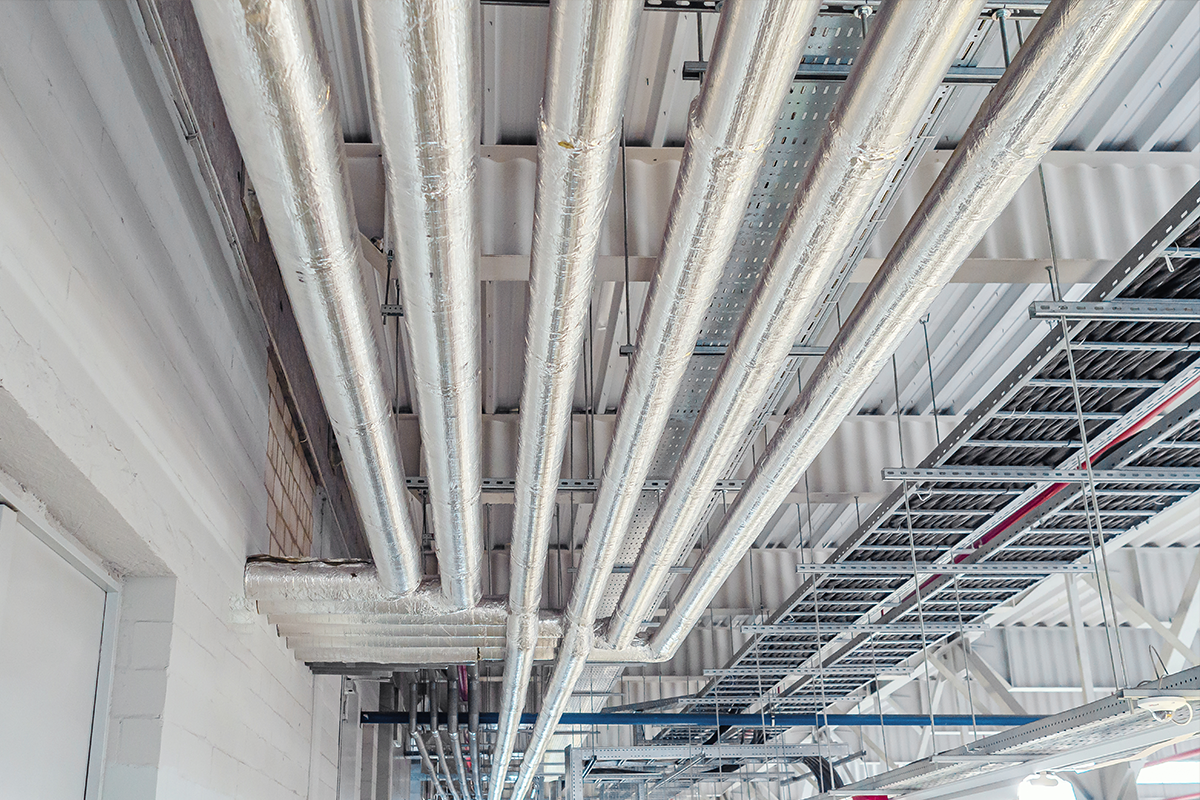
Pipe lagging is a simple yet effective way to improve your home's energy efficiency, protect your plumbing and reduce unwanted noise. Whether you're insulating hot water pipes, preventing condensation or soundproofing noisy drainage systems, knowing how to lag a pipe correctly can make a real difference.
The good news? Pipe lagging is often a straightforward DIY project that requires only a few basic tools and materials.
In this guide, we'll explain the different types of pipe insulation available in Australia and walk you through the installation process step-by-step.
What Is Pipe Lagging?
Pipe lagging involves wrapping pipes in insulating material to reduce heat transfer, prevent condensation, protect against temperature extremes or minimise noise.
There are several reasons why you might want to lag your pipes:
- Energy efficiency: Insulating hot water pipes reduces heat loss, helping your hot water system operate more efficiently.
-
Condensation prevention: Insulating cold water pipes can prevent moisture forming on their surfaces.
Noise reduction: Acoustic pipe insulation helps minimise the sounds of running water, vibrations and drainage systems. - Pipe protection: Insulation can help protect exposed pipes from extreme temperatures and reduce the risk of freezing in colder Australian climates.
The type of insulation you choose will depend on the pipe's location, material and intended purpose.
What Types of Pipe Lagging Are Available?
Before learning how to lag a pipe, it's important to understand the different insulation materials available.
Foam Pipe Insulation
Foam pipe insulation is one of the most common options for residential plumbing. Typically made from polyethylene or elastomeric foam, it comes in flexible tubes that fit around pipes.
It's particularly useful for reducing heat loss from hot water pipes and preventing condensation on cold water pipes.
Copper Pipe Insulation
Copper pipes are widely used in Australian homes for hot and cold water plumbing. Because copper conducts heat efficiently, insulating these pipes can help minimise unwanted heat transfer.
Copper pipe insulation typically involves fitting appropriately sized foam or rubber insulation sleeves around the pipework.
Acoustic Pipe Insulation
Acoustic pipe insulation is specifically designed to reduce noise travelling through plumbing systems.
Unlike standard thermal insulation, acoustic lagging often combines dense sound-blocking materials, such as mass-loaded vinyl, with a sound-absorbing or decoupling layer.
It's particularly useful for noisy drainage pipes, apartment buildings, bathrooms and multi-storey homes.
Pricewise Insulation supplies Acoustic Pipe Lagging Insulation, designed to reduce noise from pipes, valves and ductwork.
How to Lag a Pipe: Step-by-Step Instructions
Follow these seven simple steps to install standard foam pipe lagging around accessible household plumbing.
Step 1: Gather Your Tools and Materials
Before starting, make sure you have everything you need.
You'll typically require:
- Pipe insulation sleeves or suitable lagging material
- Measuring tape
- Sharp utility knife or scissors
- Appropriate insulation tape or adhesive
- Cleaning cloth
- Protective gloves and safety glasses
Choose insulation that matches the pipe's outside diameter and is suitable for its operating temperature and environment.
Step 2: Measure Your Pipes
Measure the total length of pipework you intend to insulate, including any bends or sections around fittings.
Next, measure the outside diameter of your pipes to determine the correct insulation size.
For example, if you're installing copper pipe insulation, make sure the internal diameter of the insulation sleeve matches the external diameter of the copper pipe.
Purchase slightly more insulation than your measurements suggest to allow for cutting and wastage.
Step 3: Prepare the Pipe Surface
Before fitting the insulation, check that the pipes are clean, dry and in good condition.
Wipe away dust, dirt and moisture using a clean cloth.
Inspect the pipework for leaks or damage. Any plumbing issues should be repaired before insulation is installed.
If you're working around hot water pipes, allow them to cool before beginning.
Step 4: Cut the Insulation to Size
Using your measurements, cut the insulation into lengths that correspond with each straight section of pipe.
Most foam pipe insulation sleeves come pre-slit along one side, allowing them to be opened and fitted around existing pipework.
If your insulation isn't pre-slit, carefully cut along its length, following the manufacturer's instructions.
For bends and corners, you may need to make angled cuts to achieve a neat fit.
Step 5: Fit the Insulation Around the Pipe
Open the slit in the foam insulation and gently position it around the pipe.
Ensure the insulation sits snugly against the pipe surface without being excessively compressed.
Continue along the pipe, positioning each section so that the ends meet neatly.
Pay particular attention to bends, joints and fittings, as gaps in the insulation can reduce its effectiveness.
Step 6: Secure and Seal the Insulation
Once the insulation is positioned correctly, seal the longitudinal slit using suitable insulation tape or the manufacturer's recommended adhesive.
Secure the joins between individual insulation sections to prevent gaps.
For cold pipes where condensation is a concern, maintaining a continuous vapour-resistant seal is particularly important.
Avoid using unsuitable adhesives or ordinary household tape, which may deteriorate over time.
Step 7: Inspect Your Finished Pipe Lagging
Finally, inspect the entire insulated section to ensure everything is fitted securely.
Check that:
- All accessible pipe sections are covered.
- There are no significant gaps between insulation sleeves.
- Joints and seams are properly sealed.
- Insulation isn't excessively compressed.
- Valves and other components requiring access remain accessible.
Your pipe lagging installation is now complete!
How to Install Acoustic Pipe Lagging
While foam pipe insulation is relatively straightforward to install, acoustic pipe lagging requires a slightly different approach.
Rather than using pre-formed sleeves, acoustic insulation commonly comes in flexible sheets or rolls that are wrapped around the pipework.
The process generally involves measuring the pipe's circumference, cutting the acoustic material to size, wrapping it around the pipe and sealing the overlaps with specialist tape.
For example, Pricewise Insulation's acoustic pipe lagging uses a combination of mass-loaded vinyl, a decoupling layer and reinforced aluminium foil facing to help reduce noise transmission.
For this product, the manufacturer's installation instructions specify overlapping the material, sealing joints with reinforced aluminium tape and securing the wrap at regular intervals.
Unlike ordinary foam insulation, acoustic lagging works by adding mass and reducing vibration transfer, making it particularly effective for drainage pipes and noisy plumbing systems.
Common Mistakes to Avoid When Lagging Pipes
Although pipe lagging is generally straightforward, a few common mistakes can reduce its effectiveness.
Choosing the wrong insulation: Not all pipe insulation materials serve the same purpose. Standard foam insulation is primarily designed for thermal performance, while acoustic lagging is better suited to noise reduction.
Leaving gaps: Even small gaps between insulation sections can allow heat loss, condensation or noise transmission.
Using incorrect dimensions: Insulation that's too large may leave air gaps, while insulation that's too small can be difficult to install correctly.
Ignoring temperature requirements: Always check that your chosen insulation is suitable for the pipe's operating temperature and exposure conditions.
Insulating unsafe or inaccessible areas: Avoid covering damaged pipes, obstructing essential valves or interfering with required clearances. Seek professional advice for concealed pipework, fire-rated penetrations and complex plumbing installations.
Where Can You Buy Pipe Lagging in Australia?
Whether you're insulating household plumbing or reducing noise from drainage systems, choosing quality materials is essential for achieving effective, long-lasting results.
Pricewise Insulation supplies specialist acoustic pipe lagging suitable for residential and commercial applications, helping reduce unwanted noise from plumbing and pipework.
Explore the range of pipe lagging and pipe insulation products available at Pricewise Insulation and find the right solution for your project.
With the right materials, a few basic tools and the steps outlined above, learning how to lag a pipe can be an easy and rewarding home improvement project.
Find the right insulation for your job, or get a trade quote.
Leave a comment