Insulation Tips
How to Insulate a Shed with Pricewise Insulation
Whether you’re building a new shed, upgrading your existing garden shed or converting your outdoor shed into a home office, insulation is an important consideration. Shed insulation can prevent heat transfer, making your shed more comfortable year round. Plus, the right types of insulation will offer acoustic benefits and improved moisture control.
In this guide, we explain how to insulate a shed to maximise comfort, improve energy efficiency and protect your valuables.
Do I need to insulate my shed?
Without insulation, sheds can become notoriously hot in summer and uncomfortably cold during the winter months. This can be a problem if you’re using your shed as a games room, home office or man cave, as temperature fluctuations make itunpleasant to spend time in yourshed. Even if you are simply using the space as a storage shed, extreme temperatures can be damaging to your storage items, especially those that are temperature sensitive such as paint, cleaning chemicals, batteries and other items. If you want your shed to be comfortable, and to protect the valuables you’re storing in there, shed insulation is essential.
Benefits of an insulated shed:
- prevent heat gain in summer and heat loss in winter
- protect your valuables from extreme temperatures
- improve energy efficiency and save on power bills
- dampen unwanted noises
- protect against damage caused by condensation and moisture
How to insulate a shed
Step 1. Choose the right type of insulation
The best option depends on your project, what you’re trying to achieve and your budget. Check out our list of best insulation products to use in a shed further on in this article.
Keep these tips in mind when choosing insulation for your shed walls, roof and floor:
- Reflective insulation – Essential for warmer climates. Reflective insulation will reflect radiant heat from the sun away from your shed. In cold weather, reflective insulation will reflect heat from inside your shed, keeping the space warmer.
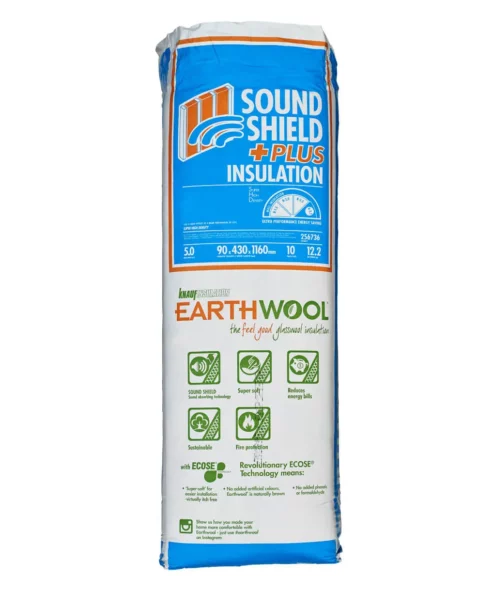
- Acoustic insulation – Helps control sound transfer for a calmer and more private space. Will deaden the sound of rain, wind and traffic. Essential for recording studios, yoga rooms and home offices.
- Bushfire rated products – If you live in a bushfire zone, ensure your shed insulation meets the required BAL ratings and local building regulations.
Step 2. Calculate how much shed insulation you need
Measure the length and width of the area you are insulating in metres. Then multiply the length and width together to get the total square metres.
If you are using a product that requires overlapping (such as Trade Select by Ametalin), we recommend adding an extra 10% to your total square metres to account for the overlapping.
Use our insulation cost calculator.
Budgeting for your project? Our online store features automatic cost calculators to help you work out how much you’ll be spending. Simply click on the shed insulation product you’re interested in and type in your total square metres.
If you need help working out what type or how much insulation you’ll need, speak to our friendly team on 1300 729 639.
Step 3. Install insulation in the shed roof
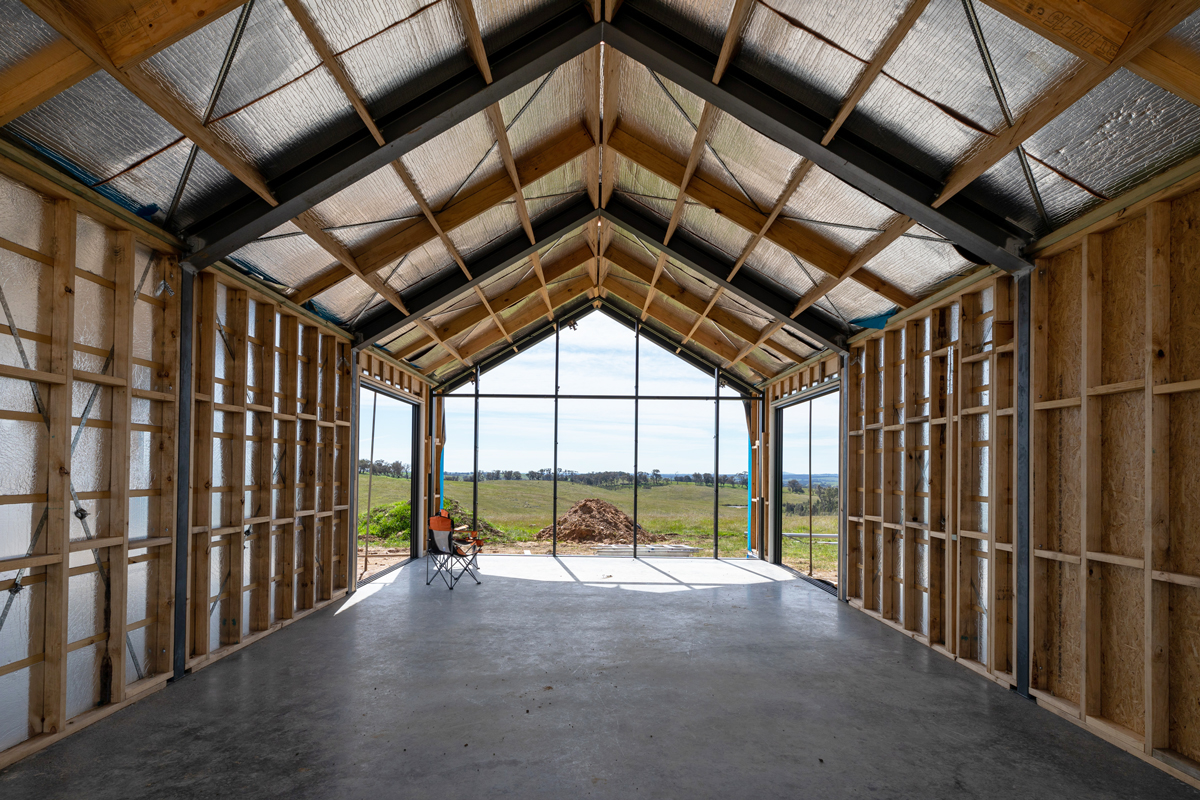
For the shed roof, we recommend using an insulation product with a reflective layer.
For optimum performance, reflective foil insulation needs to be installed with a small air gap.
- For rigid foam insulation such as Foilboard Green Rigid Panels, you can achieve a small air gap by securing the roof insulation to the underside of the roof purlins and securing it in place using screws.
- For a flexible product like Kingspan Air-Cell Insulshed, you can achieve an air gap by allowing a little slack during the installation process so that the insulation sags slightly.
If required, seal the joins between insulation panels with reflective tape.
Step 4. Insulate the walls
Before installing wall insulation, seal up any gaps in the walls, especially around doors and windows.
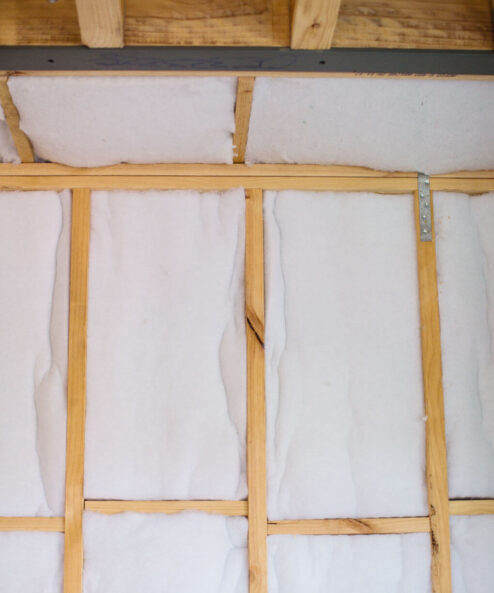
Install wall insulation between the wall girts or joists. If your joists are not evenly spaced, measure and cut your insulation as you go. If you are using reflective insulation, spacer blocks can help you create an air space between the shed wall and insulation.
Install over electrical wires where possible, or measure and cut out sections where required.
If the insulation does not come with an inbuilt vapour barrier, you may need to install a separate vapour barrier to prevent moisture issues.
Don’t forget to insulate the shed door.
Step 5. Insulate the shed floor
If your shed is being built on a concrete slab, you can insulate the slab during the building process to prevent heat loss and gain through the ground. We recommend Slabmate Underslab Insulation by Foilboard for this purpose.
If your shed is already built, you can retrofit floor insulation by fitting batt insulation, rolls or rigid insulation panels between timber floor joists.
What is the best insulation to use in a shed?
1. Kingspan Air-Cell Insulshed
Air-Cell Insulshed is an Australian-made product designed specifically for shed applications. It is made from a closed-cell foam core with reflective foil facing on both sides. Air-Cell insulation is fibre-free, fire-retardant, water resistant and unaffected by moisture. When installed with a small air gap of 2-4cm, Air-Cell Insulshed acts as both thermal insulation and a vapour barrier.
2. Fletcher Permastop Roofing Blanket
The Permastop Roofing Blanket by Fletcher is a glasswool insulation blanket faced with Sisalation reflective foil. This product offers excellent thermal and acoustic, and will help minimise the risk of condensation. It is manufactured from 80% recycled materials and is suitable for Bushfire Attack Levels (BAL) 0-40 in roof applications and 0-FZ in wall applications. Keep in mind this roofing blanket is not designed to withstand weathering and shouldn’t be used where it will get wet.
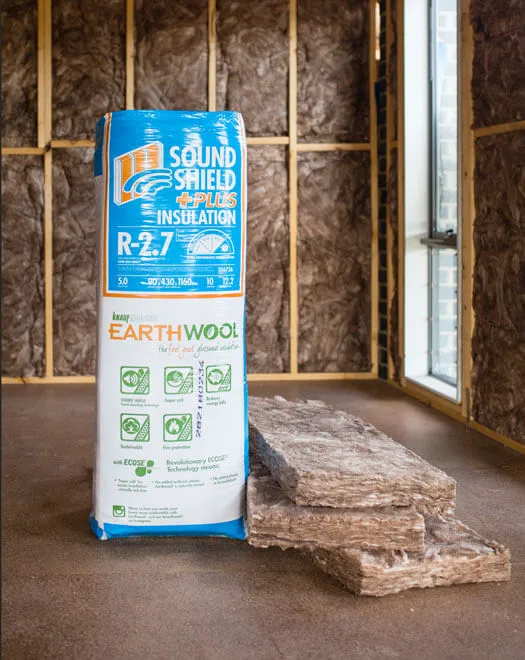
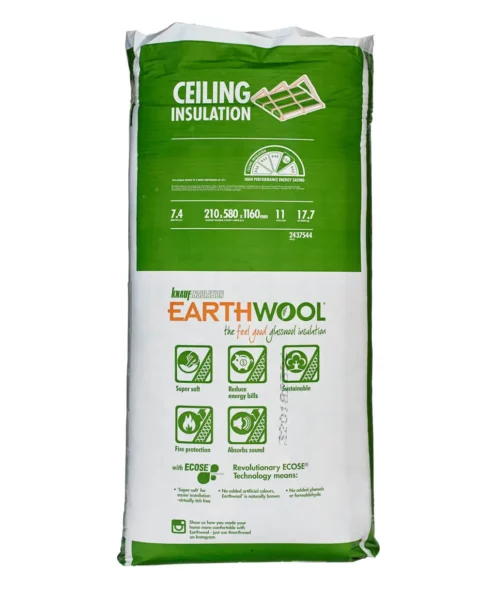
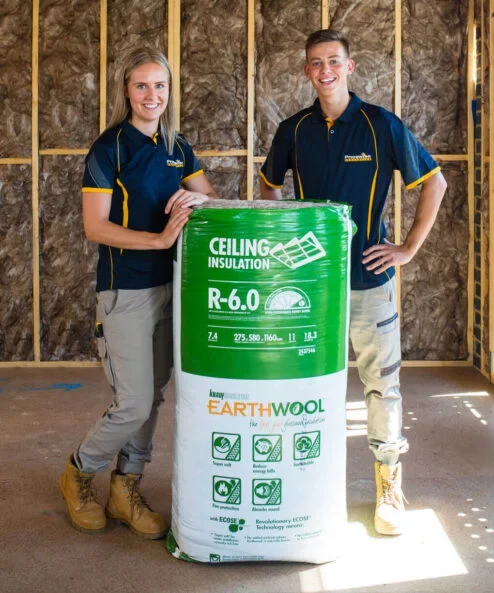
3. Knauf Earthwool Roofing Blanket
This roofing blanket is also known as a Space Blanket and is intended for thermal and acoustical applications. If this blanket is installed and used properly, it can reduce the heat in your roof significantly. It’s acoustic properties also mean that most loud noises coming from outside will be hindered before entering your home. These roofing blankets are also odorless and rot-proof.
4. Ametalin Trade Select
Ametalin is a leading insulation brand in Australia, specialising in reflective foil and foam insulation products. For shed applications, we recommend:
- ThermalBreak 7 – a three-in-one product offering reflective insulation, thermal resistance, and medium vapour barrier. Suitable for both the shed roof and walls.
- ThermalBrane 4 – an extra heavy duty foil insulation and medium vapour barrier, made from high density XPE foam. Suitable for both the shed roof and walls.
- Standard Wall Wrap Heavy Duty Foil – reflective insulation offering superior strength, air barrier, water barrier and class 2 vapour barrier. Can be used as roof sarking or wall wrap.
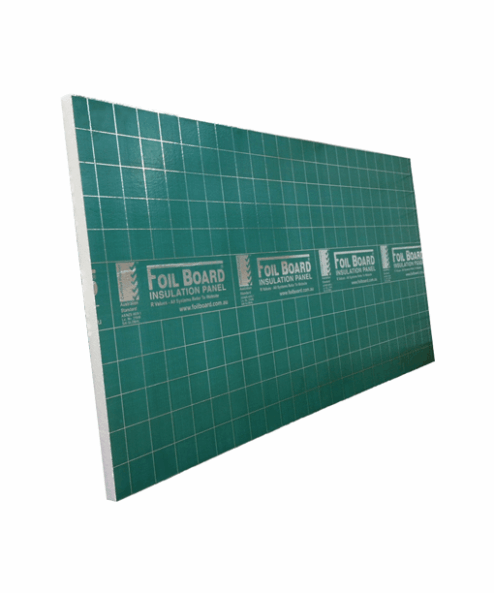
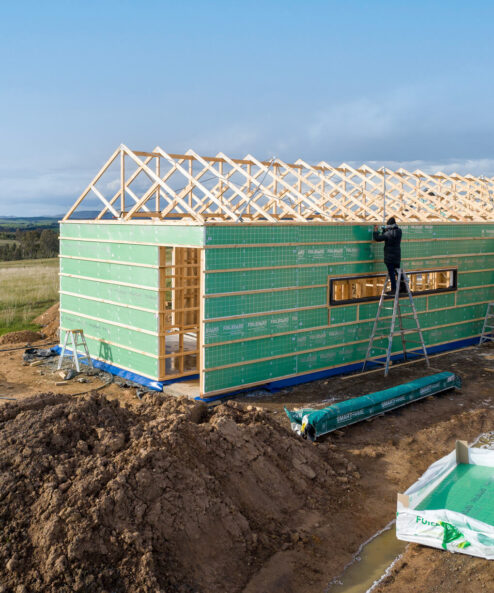
5. Foilboard Insulation Green Rigid Panels
Foilboard insulation is a rigid panel of expanded polystyrene insulation (EPS) with an aluminium foil laminate on both sides. The polystyrene core reduces heat transfer by conduction, while the foil layer acts as a radiant barrier, reflecting heat away from the surface. Installing Foilboard insulation with an air space will increase the performance of the product. To improve indoor lighting in your shed, install the boards with the silver side facing inwards.
Buy shed insulation online today
Pricewise Insulation is Australia’s largest online insulation store. We supply a range of high quality, affordable shed insulation products designed to perform well in Australian climates. Order online today, or give our team a call on 1300 729 639 to discuss how to insulate your shed.

