Skip to content
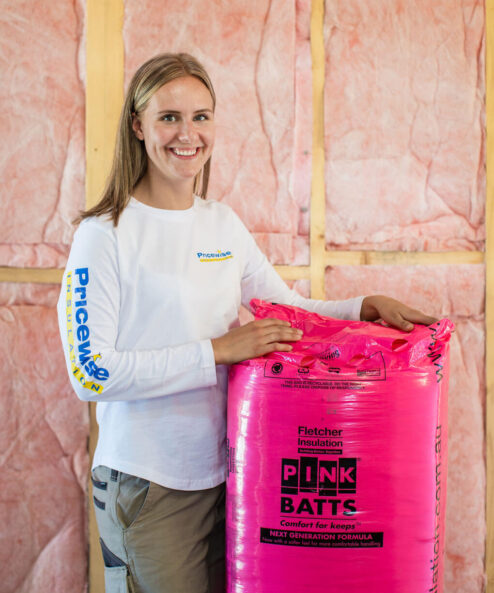
R2.5 Ceiling Insulation
R2.5 ceiling insulation is slowly being phased out in Australia. We recommend upgrading to R3.5 ceiling insulation or higher for a superior thermal result.. Alternatively, you can check out our R2.5 wall insulation products, which can also be used in ceiling spaces.
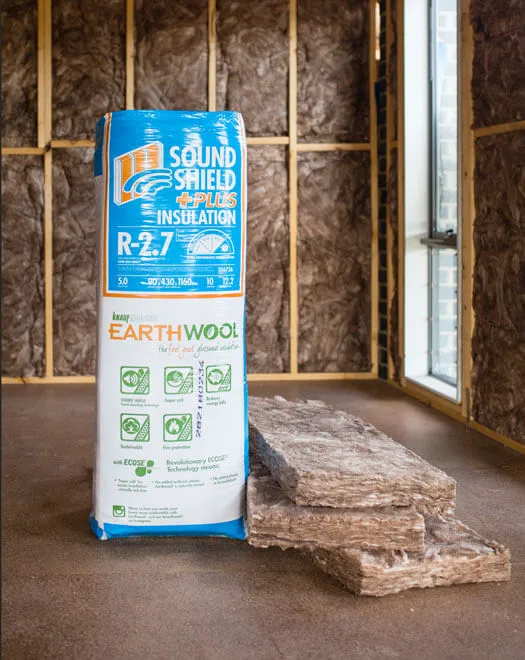
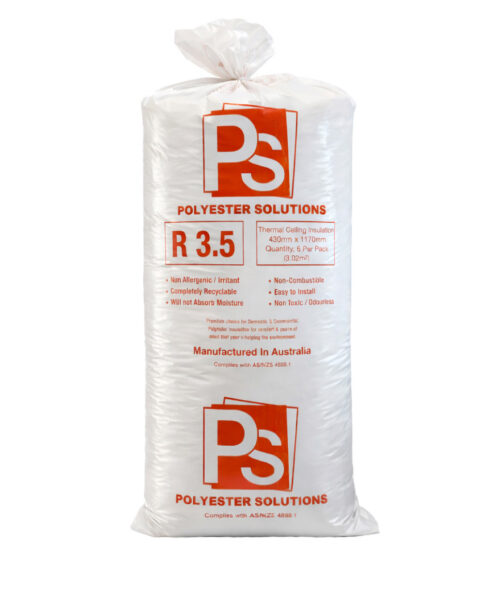
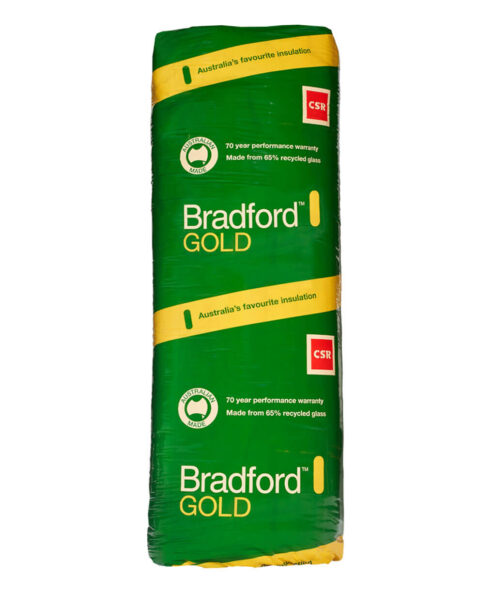
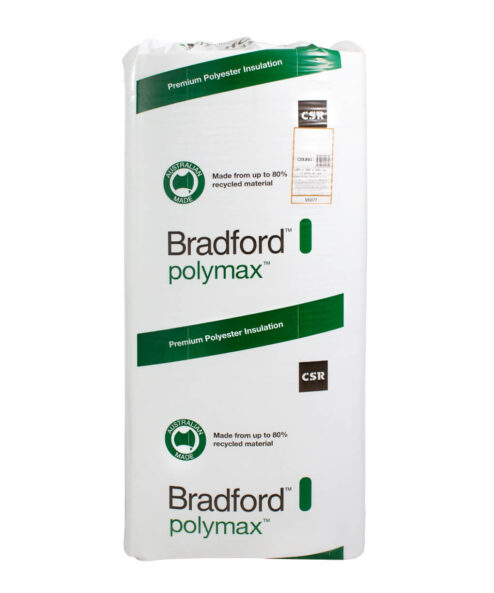
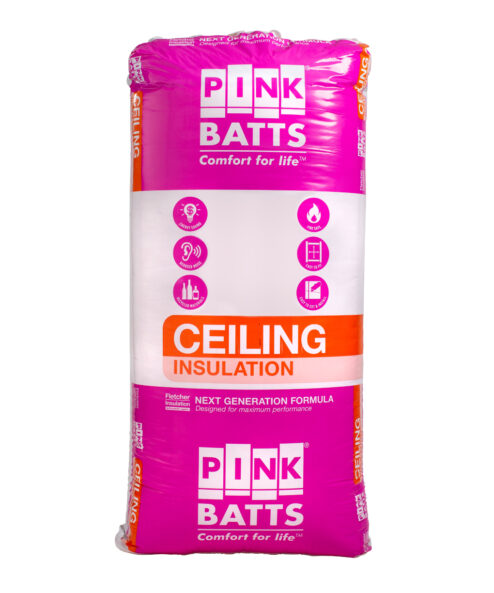
R2.5 Ceiling Insulation – Brand & R-values
In an uninsulated home between 25% and 35% of winter heat losses and summer heat gains occurs through the ceiling. You can increase the energy efficiency of your home and reduce your energy bills by installing R2.5 ceiling insulation.
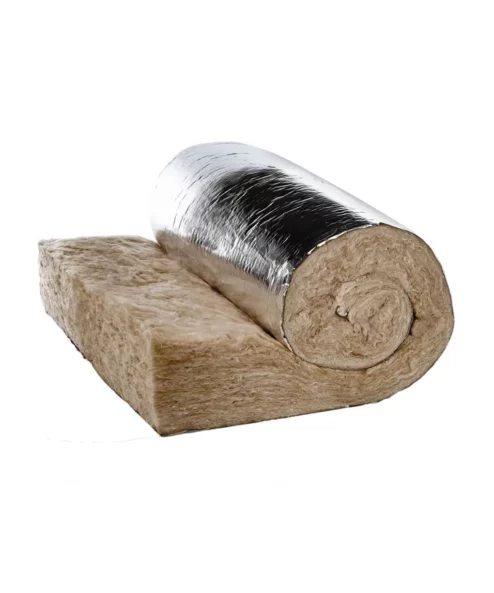
If two products have the same R-value, then their insulating performance will be the same. No certified insulation brand is better than the other – it all comes down to the R-value. Each of the brands we sell meet the Australian Standard AS/NZS 4859. Australia is divided into a number of climate zones which help determine which insulation is best for each region. In the hot climates up north, properly installed reflective foil insulation is as important as bulk insulation products such as glass wool or polyester.
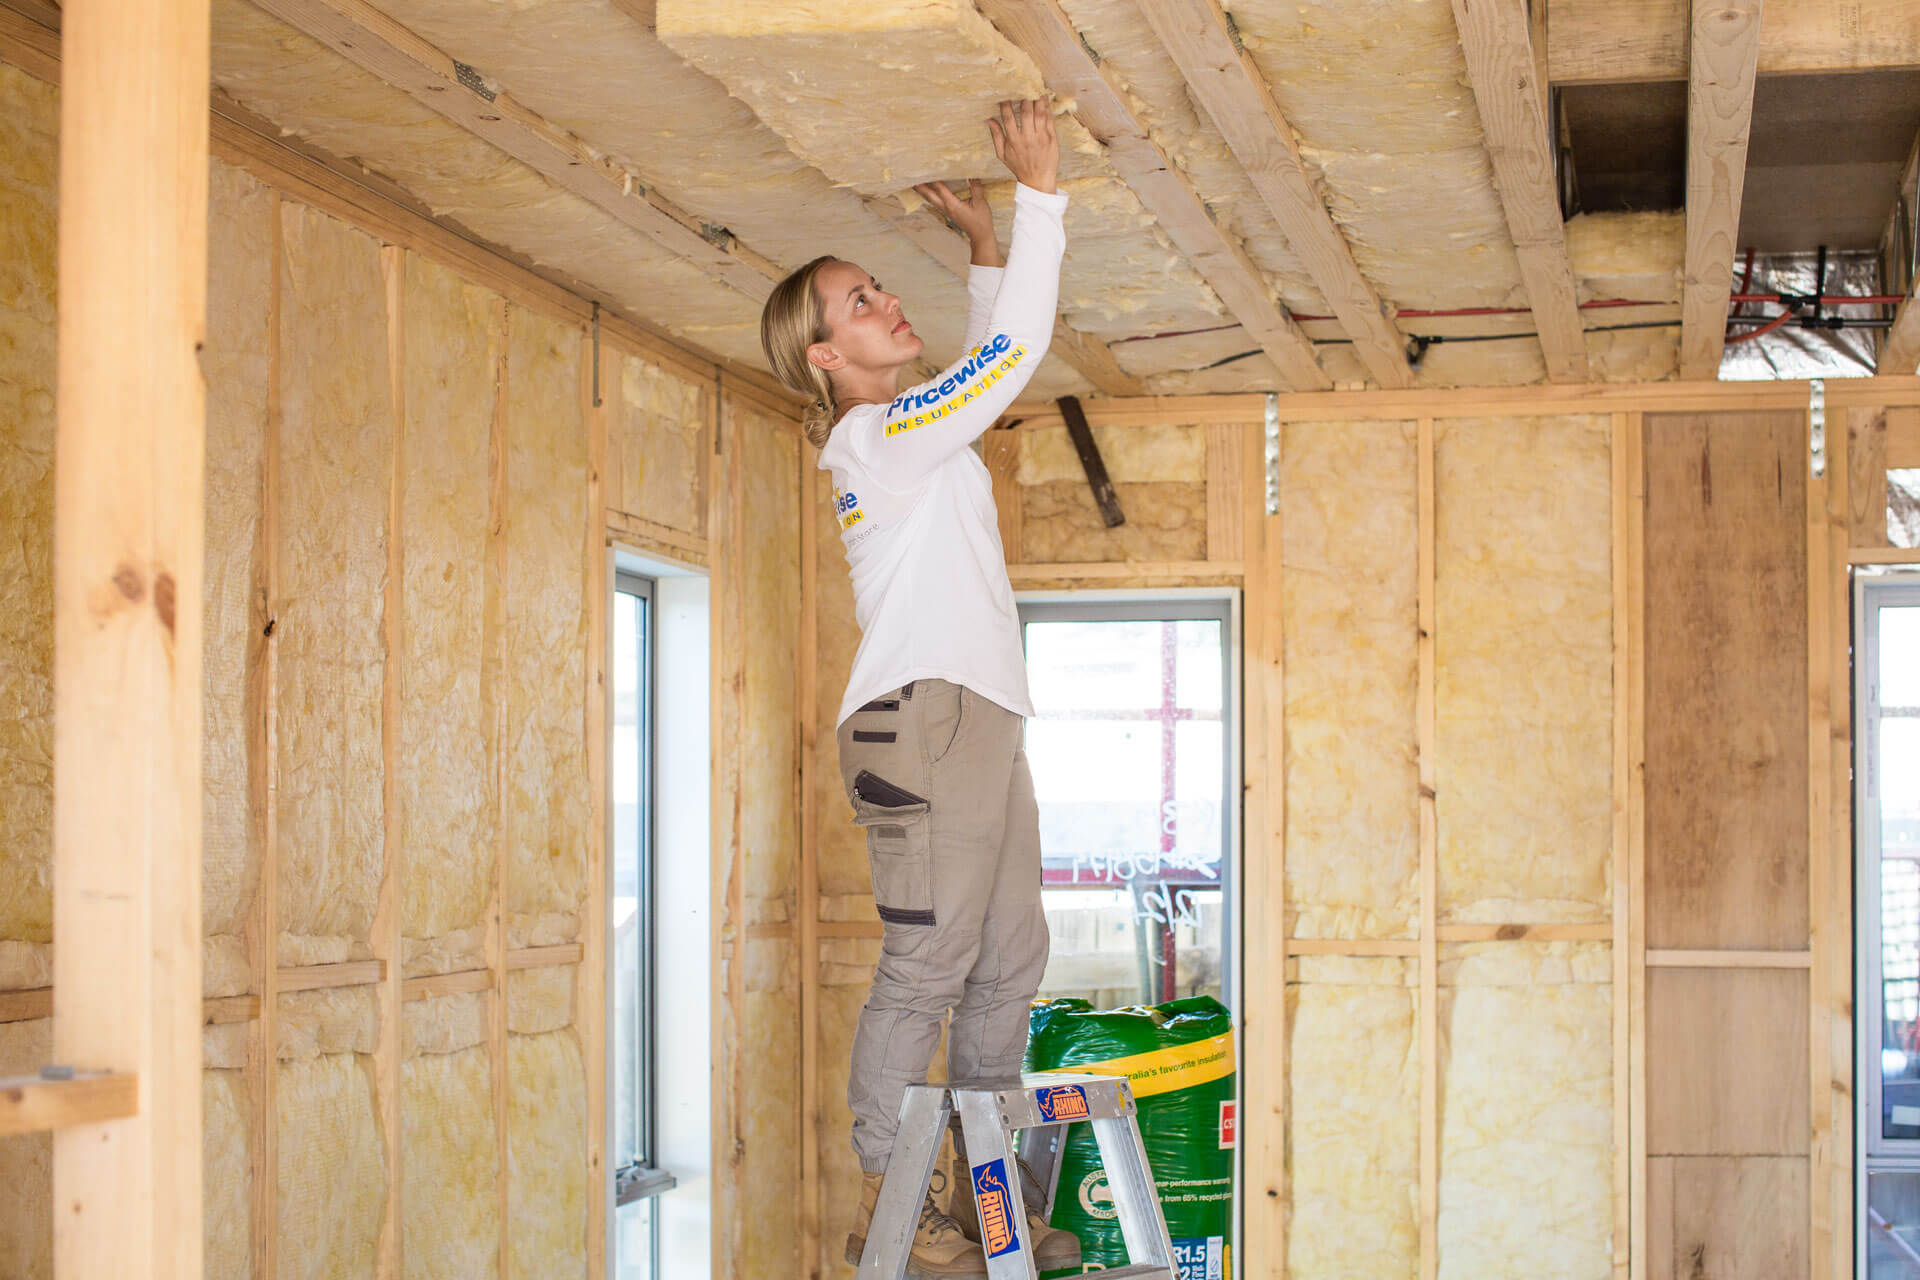
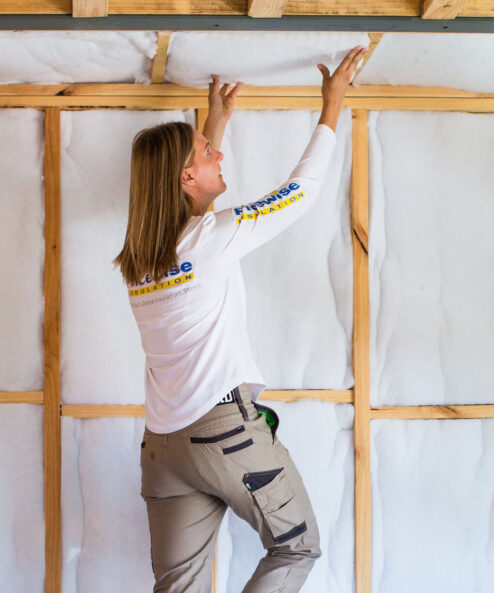
R2.5 Ceiling Insulation Application
Some ceilings, in particular flat pitched roofs, are almost impossible to insulate after plaster – there is simply not enough room to manoeuvre in the roof space. The usual solution is to install the insulation from underneath in between all the joists, before the plaster is installed. This can seem a daunting prospect, and you may well be better off hiring a professional installer to do it for you. But if you’re feeling adventurous, here are a few tips to help get you started.

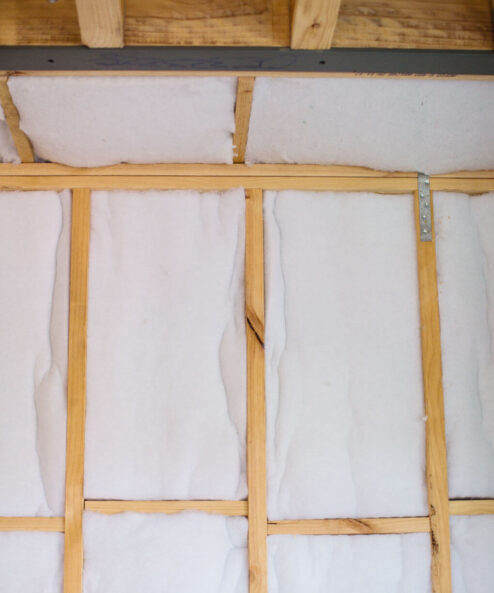
R2.5 Ceiling Insulation – Installation Tips
R2.5 Ceiling Insulation – Need to know
Video - What R-value Should I Install?