 Skip to content
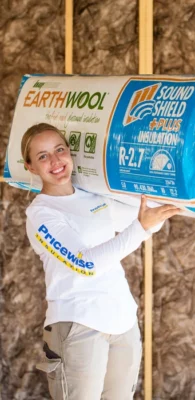
Insulation Tips
DIY Installing Wall Insulation
Feb
Practically every new home that is constructed in Australia requires an adequate level of ceiling and wall insulation in order to meet minimum energy efficiency requirements. While the vast majority of new homes are insulated by professional insulation installers, with a bit of know how and some basic tools, it is fully possible to bring the exterior wall insulation cost down by installing the insulation yourself. If you are up for the challenge of installing your own wall insulation make sure you communicate this with your builder up front regarding the timing of the task, as insulation cannot be done at just any time during the project.
When should you install wall insulation?
The “rough in” stage of a new building project generally refers to the tradespeople who require access to the inside of the walls (plumbers, electricians etc). They will need to complete all their work before the plaster or other wall lining is fixed into place, effectively removing (or greatly restricting) access to these areas. Once these aforementioned trades are done your builder will appreciate the insulation being installed as quickly as possible or immediately before the plasterers arrive to get going.
Should a significant delay be anticipated between the rough in stage and the plaster installation it may be wise to hold off with installing wall insulation until a couple of days before the plasterers plan to commence work. This is partially relevant to windy regions and building interiors that are exposed to the elements, for example due to the absence of external wall wrap.
Tips before you get started
Before commencing work ensure that you are equipped with appropriate PPE. It’s recommended to wear gloves and a long-sleeved shirt. A dust mask and glasses will also help to keep any irritating particles out of your eyes and mouth, something that is particularly noticeable when installing insulation above head height.
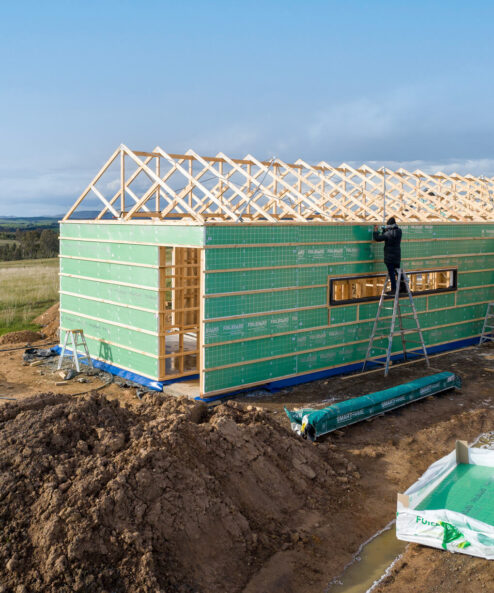
In the absence of external wall wrap, the external wall will need to be lined with tape or string in order to stop the wall insulation batts from coming into contact with the brickwork or other external cladding. This is extremely important as failing to do this can result in mould or other issues later on. No taping is necessary for internal walls as these are well protected from the elements and there’s no risk of them incurring moisture from outside.
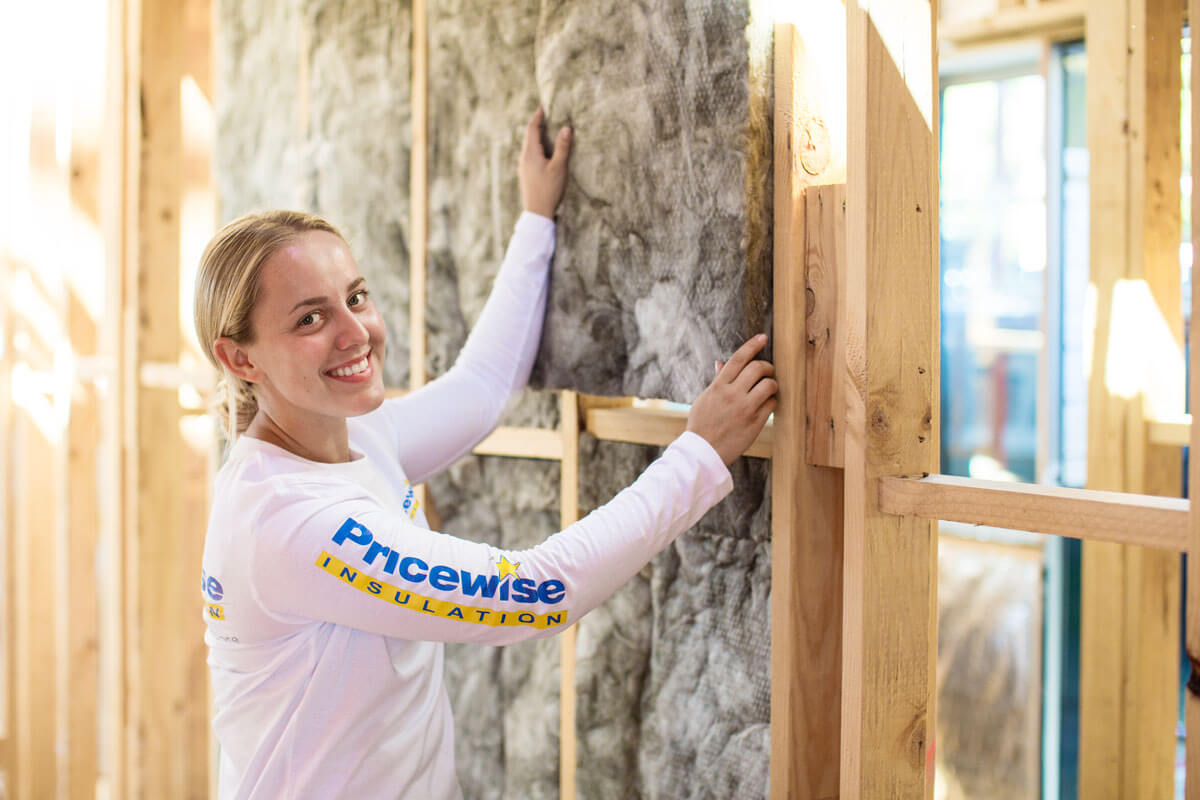
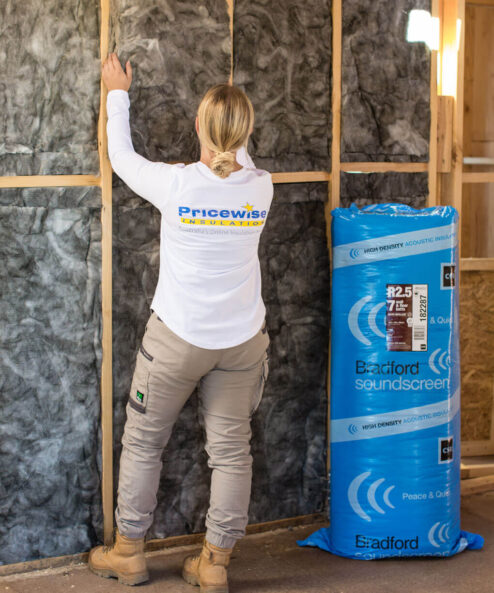
Wall insulation is easy to install
Installing wall insulation is not difficult in itself. Simply split open the bag, take one wall batt at a time and insert it between the vertical wall studs. Many installers prefer to install the first batt from floor and up, the second from the ceiling and down, meaning that any remaining gaps will be at a comfortable working height (typically waist height) for filling. Work your way systematically around the building, avoiding any air gaps and using offcuts to fill any gaps caused by excessive spacing between the wall studs.
A tidy job is a good job. Insulation is similar to painting where what you see is a good indication of what you get. Experienced installers become very fast at what they do, but if you’re doing it for the first time its recommended that you take the time you need. Then, once the walls are lined, you’ll have the satisfaction of knowing that you’ll be reaping energy savings for the life of your home.
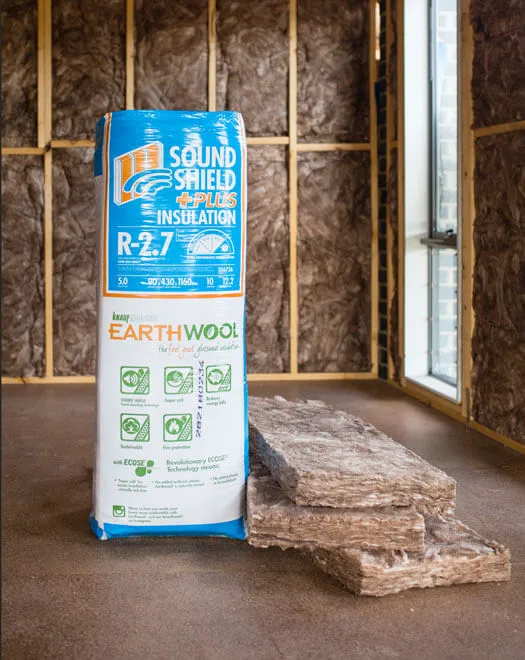
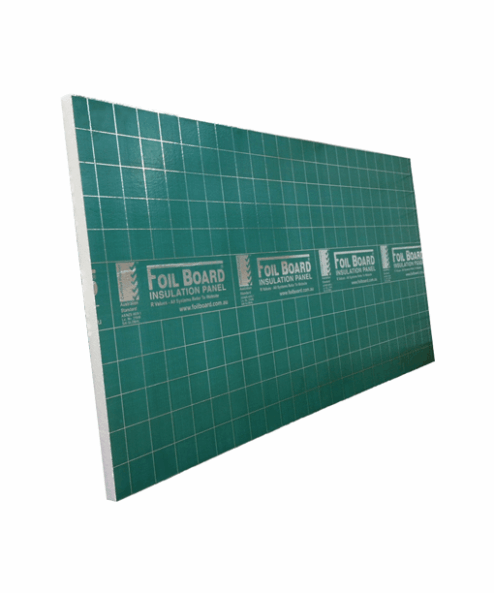
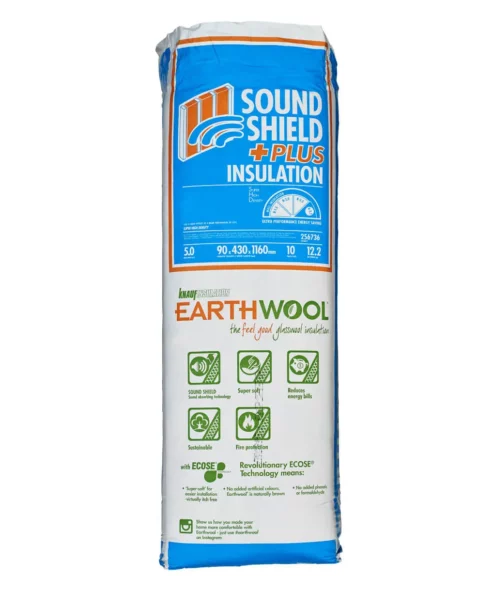
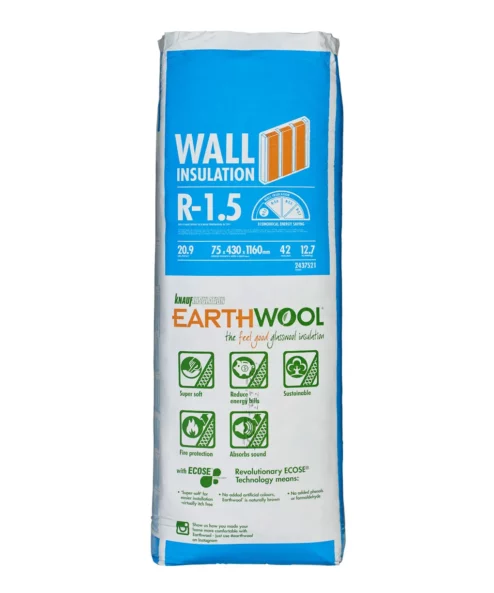
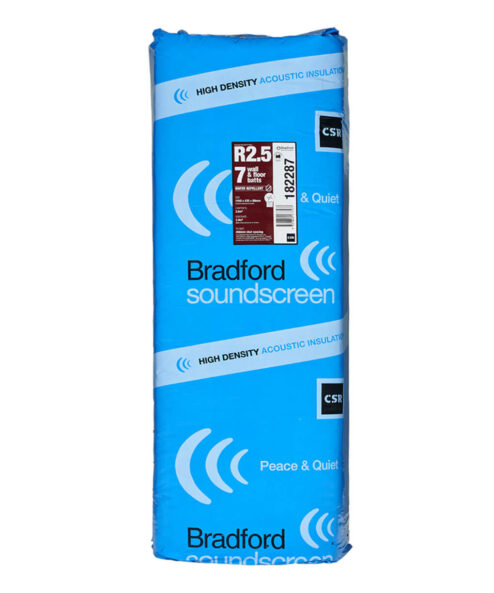
Featured ProductsBrowse All
I have appreciate with getting lot of good and reliable, legislative information with your post.
Thanks for sharing such kind of nice and wonderful collection.