Skip to content
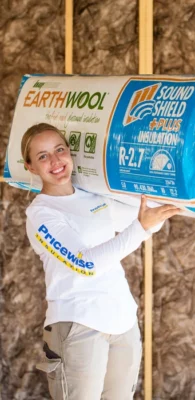
Insulation Tips
How to Install Foam Board Insulation under Cladding

Mar
Installing foam board insulation under your cladding, whether on a new, unfinished wall or during renovation is an excellent idea. From boosting your home’s thermal resistance to improving your energy efficiency, there are many reasons why going ahead with your foam board installation is good for you, your home and the environment. This blog will walk you through how to install foam board insulation under cladding, and hint at some of the benefits of foam board insulation compared to the likes of plywood or fibreglass batts.
What is foam board insulation?
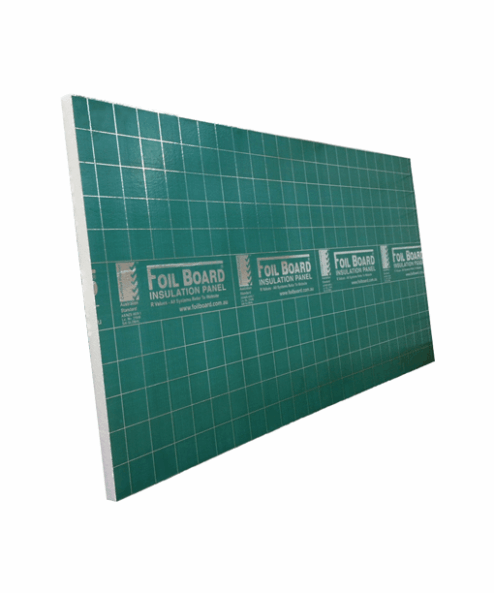
Foam board, also known as rigid board insulation, is a dense, durable and lightweight insulation material designed to reduce heat conductivity and improve your home’s thermal resistance. As an alternative to other more traditional fibreglass insulation, it offers several benefits – especially for unfinished walls.
Foam board insulation is typically made from one of three types of material:
- Expanded Polystyrene (EPS) is an easy-to-produce hard cellular foam material created from petroleum and natural gas byproducts. As a cost-effective material, EPS is also highly versatile and is 100% recyclable at designated REPSA collection depots around Australia.
- Polyisocyanurate (PIR) is a closed-cell, rigid foam material used in both commercial and residential insulation applications. Its rigidity makes it an easy product to work with and can easily be fixed within walls, ceilings or elsewhere. Because of its low thermal conductivity, it is an excellent long-term insulation solution.
- Extruded Polystyrene (XPS) is another form of rigid foam insulation manufactured during the extrusion process from a polystyrene polymer. XPS is made into sheets while still molten and can be further cut to fit the desired size. XPS has the added value of being highly moisture resistant – making it an excellent choice for homes exposed to mould or other moisture-induced issues.
Why is foam board insulation so effective?
Foam board insulation comes with several benefits for your home or business. And before we delve into how to install foam board insulation under cladding, let’s take a closer look at why you should consider choosing foam board insulation in the first place.
Foam board increases your R-value
One of the main benefits of foam board insulation is its positive effect on your R-value. R-values are a measure of the thermal resistance of a given material. The higher the value, the better the material is at reducing heat conductivity – preventing heat gain in the summer and heat loss in the winter. When it comes to foam board insulation, the thicker the material – the higher your R-value.
Foam board is an excellent shield against moisture
Installing foam board insulation on the outside of the framing causes the exact location of the dew point to shift further to the outside of the wall. This will help reduce the likelihood of condensation within the wall cavity and help keep your interior drier and more resistant to moisture over the long term.
Foam board is lightweight and easy to install
Perhaps the most appealing aspect of foam board insulation is its rigid yet lightweight and durable nature. You will notice that installing foam boards is made easier and can be done faster than some other insulation materials. It’s also safe to handle, meaning you don’t need to wear much protective gear (outside the usual gear of course).
How to install foam board insulation under cladding
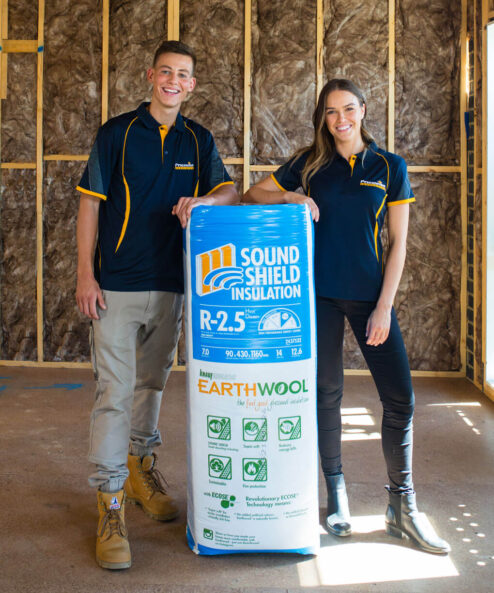
Installing rigid foam board insulation can be made easier or harder depending on your project. Here at Pricewise Insulation, we like to make sure our customers are fully equipped and prepared to do DIY Installation jobs. Having said that, if you don’t have the time to complete the installation on your own, give our team a call and we can arrange a fast and effective installation for your project.
Here’s a step-by-step guide on how to install foam board insulation under cladding:
1. Ensure you have all your materials on hand
Just like any other building project, it’s good to have all your materials on hand before you start the installation. Here’s a snapshot of what you should have on hand:
- Foam board (XPS, EPS, or PIR).
- Power saw (best to use is a powered reciprocating saw)
- Galvanised nails long enough to penetrate the board and well into the wall
- Utility knife
- Hammer
- Sealing Tape
- Tape measure
- Spirit level
2. Safety? Check
Now that you’ve got your materials ready, it’s time to talk about safety. We recommend using gloves, eye protection and a builder’s mask when cutting and installing insulation. Cutting foam board insulation can produce dust, and it’s good to be protected. Unfinished or exposed walls may also still contain plenty of sawdust, so wear appropriate protection wherever needed.
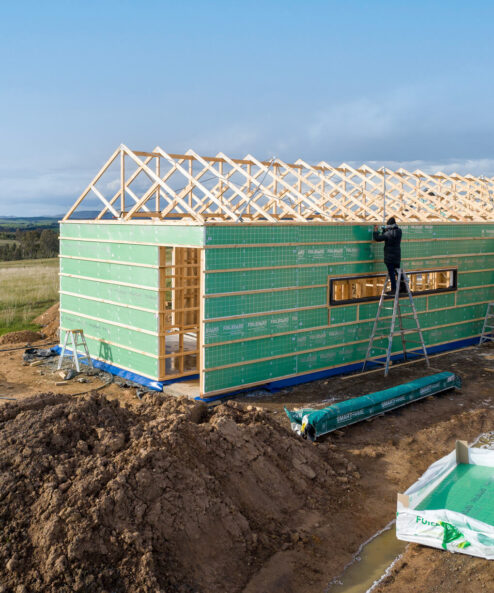
3. Remove cladding (if necessary)
If you want to overhaul your insulation with fresh and powerful foam board, you’ll first need to remove your existing cladding before setting in your new panels. Be careful not to disturb any electrical or plumbing utilities underneath. It’s essential that your cladding gets replaced more or less exactly how it was, so have this in mind as you take it down.
4. Measure your walls
Before you start applying foam insulation under your cladding, it’s important you first measure how much coverage you’ll need. Ensure you measure from the very top of the roofline to the base of the wall to ensure no parts get missed. If you’re starting fresh with an unfinished wall, this process is made simpler by the fact that there’s no existing cladding to remove before setting in your insulation panels.
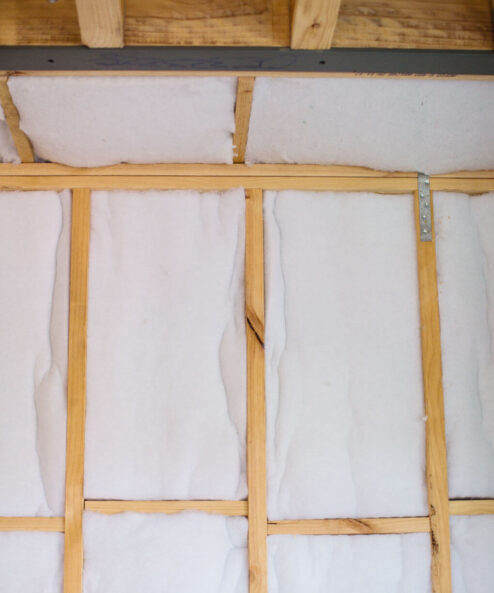
5. Start setting panels into your walls
With your measurements complete, and your boards ready, start nailing in your insulation taking care that the nails do reach the wall behind and even go ¾ of an inch into it. When setting in panels remember to keep it symmetrical and consistent around your home. Aligning the panels with the walls can be a challenge. Remember to make use of your measuring tape and spirit level to keep the boards in line.
6. Ensure all walls are covered
While setting your panels, make sure to cover all areas. This includes the areas around windows and doors. The more area you manage to cover the better your rigid foam insulation will be able to reduce heat conductivity and the quicker you’ll be able to achieve your desired R-value.
7. Re-mount your cladding (if necessary)
Re-mounting wood cladding can be a tedious process, but no matter how long it takes, it must be done right. This means reconnecting any previously disconnected electrical cords and carefully nailing back in the cladding. Use long nails to ensure that your cladding, insulation panelling and framing are underneath.
Insulate with Pricewise
If you’re searching for quality foam board insulation, you’re already in the right place. As a top insulation retailer, we always stock the best and most cost-effective insulation on the market.
For expert tips on how to install foam board insulation under cladding or to order online, contact the team here at Pricewise Insulation. Call us on 1300 729 639, or send an email to sales@pricewise.com.au.
Home InsulationBrowse All