 Skip to content
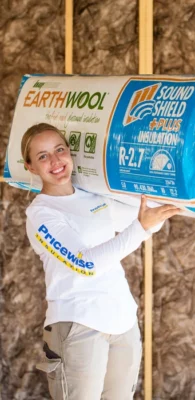
Insulation Tips
How to Retrofit Ceiling Insulation the Right Way
Feb
Ceilings play a big role in the heat dynamics of your home because they transfer a significant amount of heat. Understanding this can help you as the homeowner make informed decisions about your home’s insulation and energy efficiency.
If you want to make your home more energy efficient and improve indoor comfort, one of the best things to do is update your ceiling insulation.
When you retrofit ceiling insulation in an existing home, you can save money throughout the year on your heating and cooling costs. If it has been a while since you checked the state of the insulation in your ceiling, you may want to make it a priority.
In this blog, we will cover the key factors for retrofitting, including its benefits, choosing the right materials, and a step-by-step guide on how to install insulation in the ceiling.
Benefits of Retrofitting Ceiling Insulation
You may be surprised at just how much of a difference ceiling insulation can make to the temperature of your home.
Without proper ceiling insulation, you could lose up to 35% of heat in winter and gain up to 35% more heat in summer. This means you either suffer through uncomfortably high or low temperatures inside your home or spend more than you need to on energy bills to regulate temperatures back to comfortable levels.
By retrofitting ceiling insulation, you can improve energy efficiency with the baseline temperature levels of your home, so even if you still need to heat or cool your home, you are bound to require much less energy to do so, which helps reduce your bills.
Choosing the Right Insulation Material
Before getting started, it is important to know that all insulation products have an R-value, represented by a number. This number indicates how well the product can resist heat transfer. The higher the R-value the better the product is at insulating and the more savings you can expect to see on your subsequent power bills.
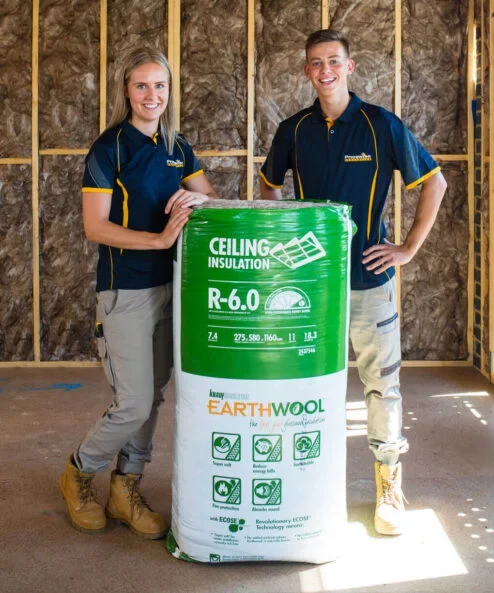
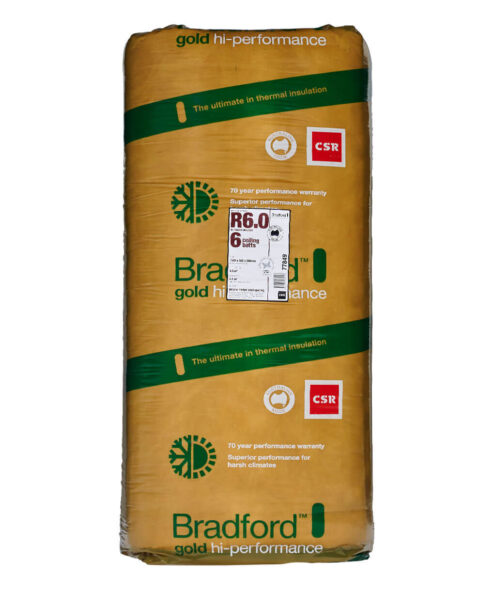
When you retrofit ceiling insulation in an existing home, we recommend a minimum of R4.0 for ceiling insulation. In cooler climates such as Sydney, Melbourne, or Adelaide, we recommend upgrading your insulation to R5.0 or R6.0. Most recently, R7.0 and R8.0 products have become available, which are even better.
Some of the products used for ceiling retrofit applications include:
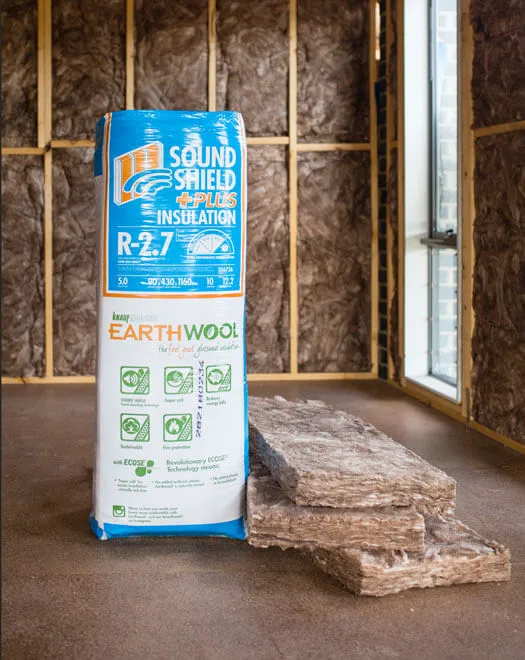
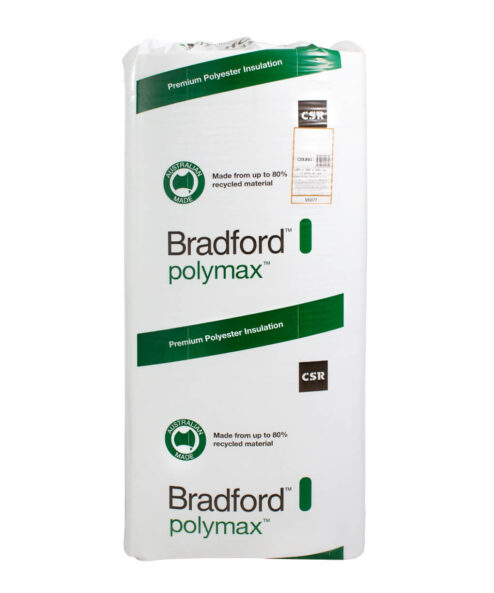
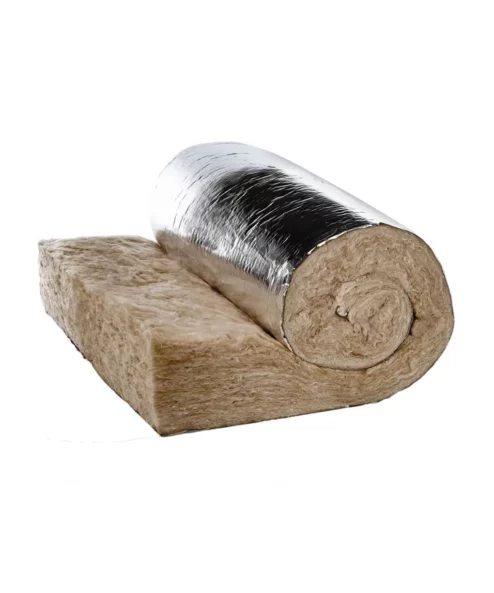
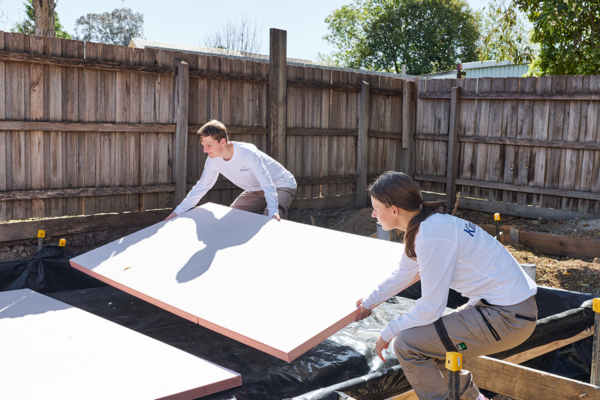
- Insulation Batts – Insulation batts are a type of bulk insulation. They are pre-cut to fit in between the wall joists and consist of glasswool (aka fiberglass), polyester, and rockwool. Insulation batts are relatively inexpensive, effective, and have a high fire rating. Consider buying low-itch insulation batts such as Knauf Earthwool to avoid irritation to the skin and eyes.
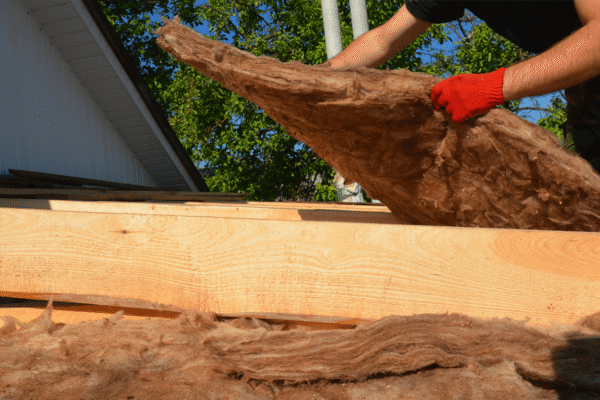
- Blow-In Glass Wool Insulation – Blow-in glass wool insulation requires professional installation, making it a more expensive option as compared to batts. Blow-in insulation can be installed within 1-2 days. The technique needed forthe proper installation of blown-in insulation is frequently overlooked by installers. This is why it is vital to use a reputable company such as EcoHome Insulation, who use thermal imaging to check their work. We also recommend choosing a high-quality product such as Knauf Supafil® CarbonPlus.
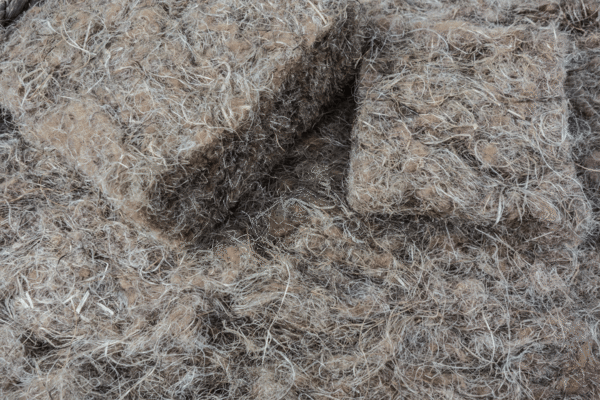
- Blow-In Cellulose Insulation – Given that cellulose insulation is made from ground-up paper, its fire rating is lower than other types of insulation. While this product is quite effective, it has a short lifespan. It can also easily get moved around when it is first installed and loose, which leaves gaps and decreases its overall effectiveness. After a time when the cellulose settles, it does so unevenly, which can also leave large gaps, making it less effective than blow-in glass wool.
Preparing for Installation
Seeing that insulation batts are the main DIY insulation option, let’s look at what you need to do to prepare for retrofitting your ceiling insulation with insulation batts.
In terms of safety materials, have the following items available for yourself and anyone who may be helping you with the retrofitting (or even just entering the roof cavity while you are carrying out the installation):
- Work boots
- Safety Glasses
- Dust Mask
- Gloves
You will also need the following items while you are in the ceiling cavity:
- A Stanley knife—to carefully open the insulation bats from their packaging, and for cutting through the mats in irregular places.
- A battery-operated light
- A kneeling plank and
- A 1-metre stick.
It is also important to fully familiarise yourself with the manufacturer’s installation guidelines to ensure you don’t omit any necessary aspects so that you get the most out of your new insulation.
If you have existing insulation in your roof, it can usually be kept. But examine it to check if it is mouldy, damaged, or infested because if so, it will need to be removed before placing the new insulation in.
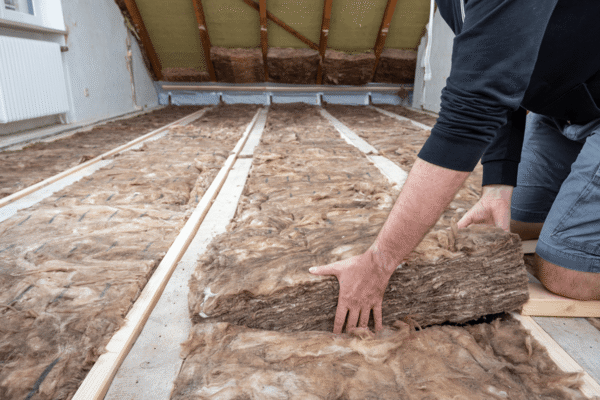
Step-by-Step Guide to Retrofit Ceiling Insulation
Once you have completed the preparation process above, this is how to install the insulation in the ceiling:
- Have any old wiring checked by a qualified electrician.
- Ensure that electricity is turned off at the main switchboard before proceeding.
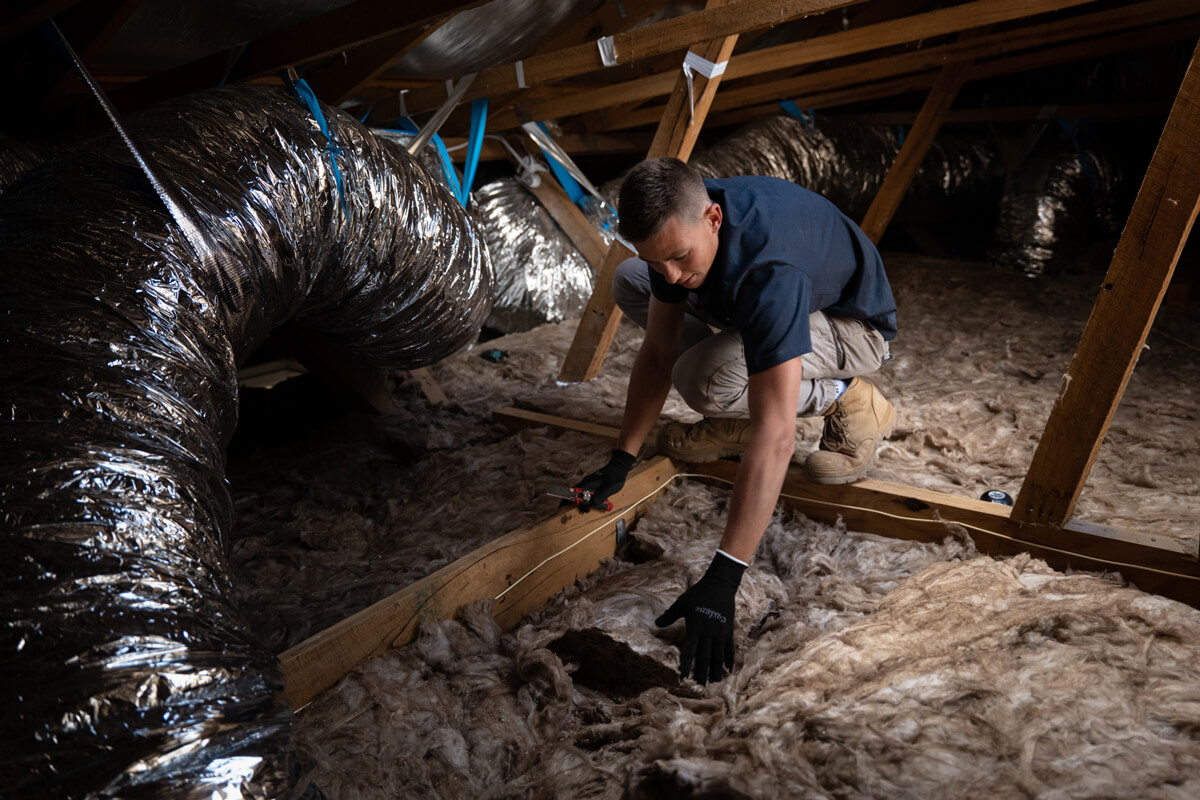
- Place all matts in the ceiling cavity through the manhole. If this is too small then slide off roof tiles or take off a roof sheet to provide access (this will require you to hire some safety rails).
- Lightly shake every batt and gently bounce them on the side to help expand them.
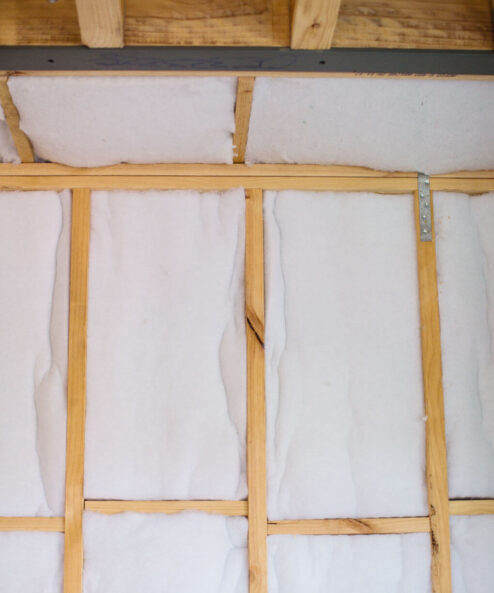
- Start installing the bats along the perimeter of the wall. Then, place the bats in the middle part, working your way from the furthest part away from the manhole back toward it.
- Lay the batts down snugly between the joists.
- If you have existing insulation that is below the top of the joists, you can keep this in place and lay the insulation mats on top, between the joists.
- If your existing insulation reaches the top of the joists, you can place the new insulation batts across the joists.
- Do not leave any gaps in the insulation to enhance the overall thermal performance.
- Where possible, place the insulation beneath electrical cables and ductwork.
- Glue the insulation onto the back of the manhole hatch.
- When finished, check that all insulation batts are fitted snugly and are of a uniform height.
Seeing as the roof cavity can heat up a great deal, it’s best to plan to do the work early on in the day.
Working Around Obstacles
Ensure that you leave clearances around the lights. Leave a 100mm clearance around traditional halogen down-lights (with the transformer placed over the top of the insulation), and a 50mm clearance around standard LED lights.
Certain IC-rated LED lights may be covered by the insulation, however, please double-check this with the manufacturer first.
Remember to leave clearances around fans, piping, and chimney elements too.
Avoid These Common Mistakes
If you have a ducted air conditioning system installed in your home, this makes laying insulation batts more difficult as you need to be extremely careful to work around the fragile giant-boa-constrictor-like structure. However, this is not insurmountable. You will simply need to factor in additional time to install the batts and if need be, hire a professional to help you with the most difficult parts if you get stuck.
Whatever obstacles you come across, it is important to take your time and follow instructions to ensure you install the insulation batts correctly so they are fully effective and safe.
Take the Next Step Toward a More Comfortable Home
Now that you know more about the power of ceiling insulation when it comes to boosting energy efficiency and the comfort of your home (and the associated energy bill savings) it’s time to take action.
You can get started with retrofitting your ceiling insulation by browsing our range of insulation batts and contact us by calling 1300 729 639 if you have any questions.
ALSO READ – Retrofit Wall Insulation for Existing Homes: Everything You Need to Know
Featured ProductsBrowse All

Recent Blog Posts
Sisalation vs Sarking
When building a new home or upgrading an existing one, choosing the right insulation products [...]
2 Comments
Jun
What Is an Insulator?
If you’ve ever tried to keep your home warm during a chilly Melbourne winter or [...]
Jun
Is Hemp Insulation a Viable Option?
As Australians look for smarter ways to build and renovate, sustainability is no longer a [...]
Mar

The Ultimate Guide to Draught Proofing Your Home
When the cold winds of winter sweep through, keeping your home warm and energy efficient [...]
Mar
What Is the Best Underslab Insulation Board to Buy in Australia?
When planning a new build or a major renovation in Australia, one of the most [...]
Feb
Anticon Blanket vs Sarking
When it comes to insulating Australian roofs, few topics spark as much debate as Anticon [...]
Feb
Is Recycled Denim Insulation Comparable to Traditional Insulation Materials?
As Australians become more conscious of sustainability, energy efficiency and indoor comfort, the materials we [...]
2 Comments
Dec
Insulation for Sheds – Common Questions Answered
Whether you’re converting your shed into a workshop, home office or hobby space, or simply [...]
Dec