Insulation Tips
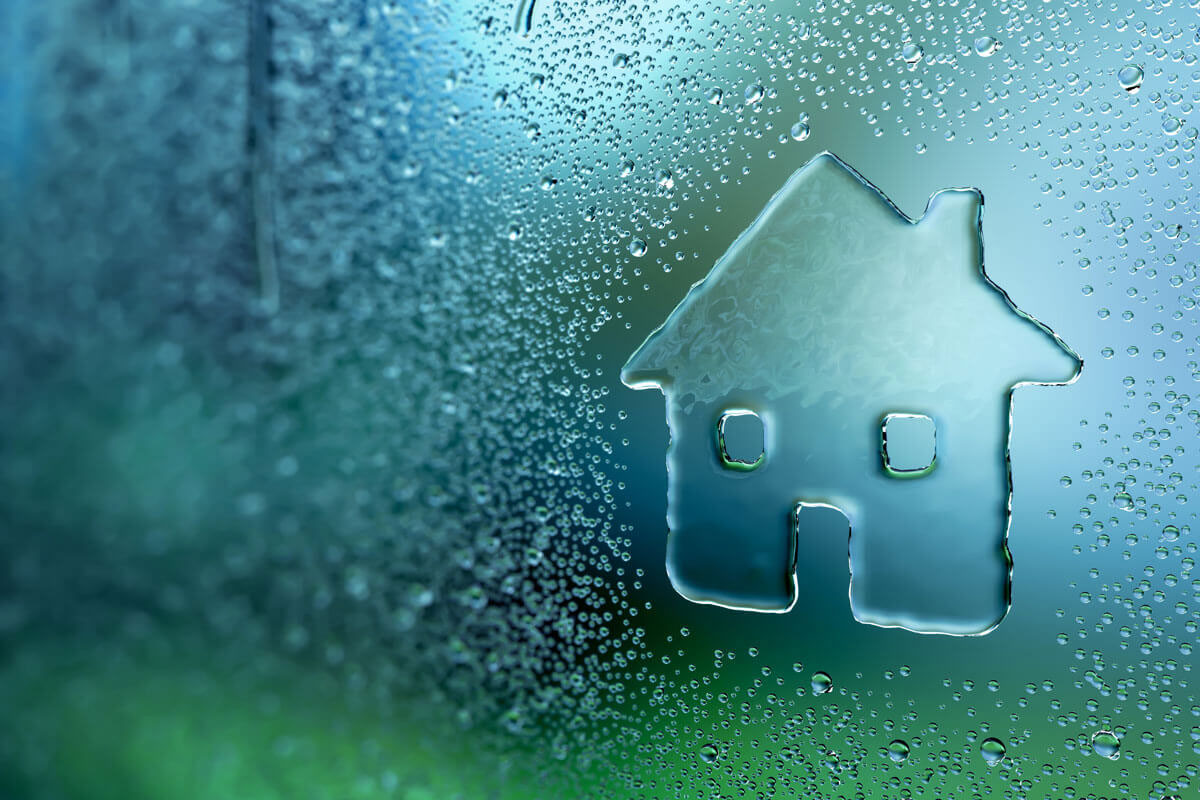
Controlling And Treating Condensation
Feb
Internal wall condensation might not feel like a big crisis, but it has the potential to become a real headache for homeowners. While a small amount of moisture in walls can seem harmless, when left unchecked and untreated, condensation can cause significant issues for the health of your home including structural damage, mould, and rot.
Along with ensuring you have a vapour barrier and quality insulation installed, adopting some simple common sense habits can help prevent condensation from occurring. In this guide, we explain everything you need to know about how to stop condensation in walls, how to identify it if it occurs, and what you can do to fix it.
Causes of Condensation
What Causes Condensation within Walls?
Everyday activities such as cooking, washing, and using heating appliances can all cause condensation to form. Once vapour levels in the air reach a ‘saturation point’, moisture in the air turns into water droplets and condensation forms. Relative humidity levels in a home typically remain steady at around 50-70%. However, when condensation occurs, the air is known to have a relative humidity level of 100%.
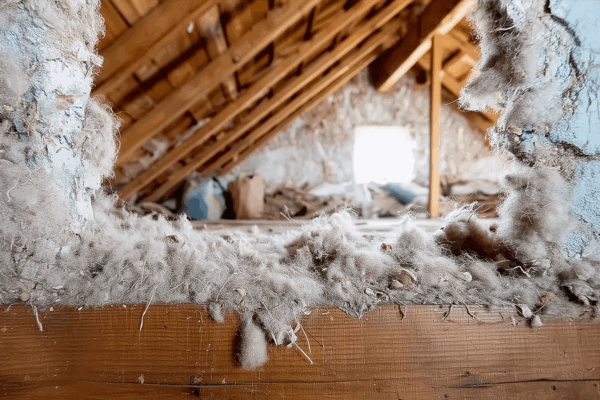
Condensation can be classified as either surface or interstitial. Surface condensation forms on the exposed surfaces of a building, such as walls or windows, while interstitial condensation develops hidden within the layers of construction, like the roof, walls, or floors. The greatest concern to homeowners and builders is the formation of excessive levels of interstitial condensation which can cause irreversible damage to the structure of a building.
Factors Contributing to Condensation within Walls
Condensation within walls occurs when warm, humid air meets cooler wall surfaces, causing moisture to condense. Key factors contributing to condensation include:
- Wall composition: The materials and layers in a wall affect its ability to retain heat and resist moisture transfer, influencing how and where condensation may form.
- Temperature Differences: Poor insulation or seasonal changes create cold spots in walls.
- High Humidity: Excess moisture or steam from cooking, showering, drying clothes, or overwatering plants, especially in poorly ventilated spaces.
- Poor Ventilation: Limited airflow traps moisture in wall cavities meaning they don’t have a chance to dry out sufficiently.
- Leaks: Water leaks from inadequate roofs, walls, or windows.
- Construction Issues: Poorly installed insulation, including insulated walls with no space for airflow, or non-breathable insulation materials can allow moisture to build up and become a problem.
The Role of Wall Insulation in Controlling Condensation
How Wall Insulation Works
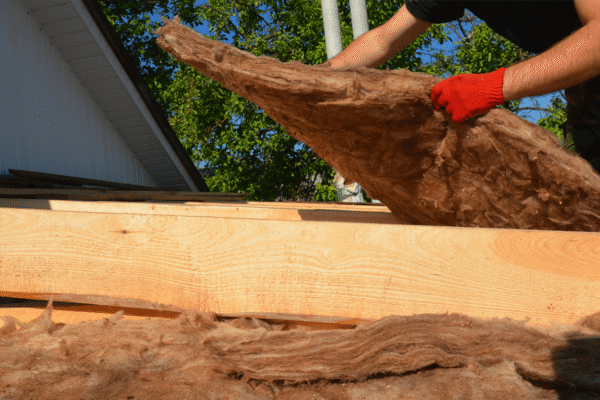
Installing quality insulation can help to prevent condensation by keeping surfaces warmer and reducing the likelihood of them reaching the dew point. This is a particularly important solution for condensation in colder rooms, such as bathrooms and basements. Our team recommends using exterior wall insulation to warm sensitive surfaces to reduce the risk of condensation build-up.
Make sure you install a permeable wall wrap such as Bradford Enviroseal ProctorWrap (RW) Insulation, in line with changes to the National Construction Code 2022.
Does Wall Insulation Cause Condensation?
While wall insulation itself doesn’t create condensation, correct installation and proper airflow are essential to avoid moisture problems and mould. Improper insulation can create temperature imbalances within your home, leading to condensation. When insulation is missing, inadequate, or poorly installed, certain areas of your walls can lack ventilation or become cooler than others. To avoid this ensure you:
- Use high-quality insulation materials tailored to your climate.
- Check for gaps or inconsistencies in installation, particularly around corners, windows, and doors.
- Replace old or ineffective insulation, especially in older homes.
- Consider insulating external walls to prevent cold surfaces inside.
- Use dehumidifiers or exhaust fans in moisture-prone areas like kitchens and bathrooms.
- Avoid drying clothes indoors or overusing humidifiers.
- Install a vapour barrier to block moisture from penetrating walls and causing condensation.
- Have your insulation professionally installed ensuring adequate ventilation within walls.
Effective Strategies to Control Condensation
Minimising Condensation in Your Home
Improve ventilation
When considering how to prevent condensation, the first port of call is often to improve ventilation. To minimise and potentially eliminate the risk of condensation build-up in your home, we recommend making sure all ducts are vented to the outside of your home and ensure nothing is blocking the flow of ventilation. This will help reduce warm air and humidity levels. Improving ventilation can also be achieved by opening windows and doors, using extractor fans in kitchens and bathrooms, and ensuring that air vents are not blocked.
Produce less moisture
Reducing the levels of warm air and moisture produced in the home can also help to prevent condensation. Simple steps like covering pans when cooking, drying clothes outside, and using a dehumidifier can all help to reduce the amount of moisture in the air.
Insulate your home
Installing a vapour barrier, such as a vapour permeable wrap in addition to your wall insulation batts forms a dual defense against condensation. Vapour barriers for walls help prevent moisture from penetrating your walls and insulation. Using these two insulation methods in your home, in addition to having it properly installed with adequate ventilation, will help keep moisture out, surfaces warmer, and reduce the likelihood of walls reaching the dew point.
Treating Condensation in Your Home
- Identify the extent of damage
Without knowing how bad the situation is, it’s hard to calibrate your response. For example, if the damage is minor (some small damp patches on the interior walls), you might not need to go all-in by replacing the wall. However, if you notice a musty smell on the inside and outside, along with black mould forming on the interior wall surfaces, that is a sign that you are in for a big job. - Determine the cause
The cause of internal wall condensation might be a lack of ventilation in a particular room, or it could be that cooking habits are to blame. Whatever the cause, you must be aware of how it happened so you can act to resolve the issue before repairing the damage. - Dry out the affected area
Use a fan or open the windows on a hot day to dry out any wet or soggy wood. Make sure that you can dry the entire affected area. If need be, call in a professional to assist. - Clean and remove mould
Clean the affected areas by removing any mould build-up, or by taking out any beams or paneling that are showing signs of mould or rot. Be sure to wear appropriate protective gear when doing this as mould can carry dangerous toxins. - Repair or replace damaged materials
Once all affected materials have been removed, replace them with new and resilient materials like vapour permeable wrap and wall insulation. This must be done correctly, as failing to re-install the right materials can result in further damage. - Monitor the affected area
Once everything is back in place, keep an eye on the levels of moisture and see if you’ve managed to address the issue. It can be beneficial to take a photo of the area once repaired so you can map any future discolourations if they appear.
DIY Solutions for Condensation Control
DIY Ventilation Tips
To help improve ventilation in your home there are several simple habits you can adopt:
- Open doors and windows when possible
- Ensure you use extractor fans in your bathroom
- Use an extractor fan in your kitchen while cooking and cover pans.
- Don’t overwater your indoor plants
- Use a dehumidifier in any area with restricted airflow.
- Dry laundry outdoors whenever possible.
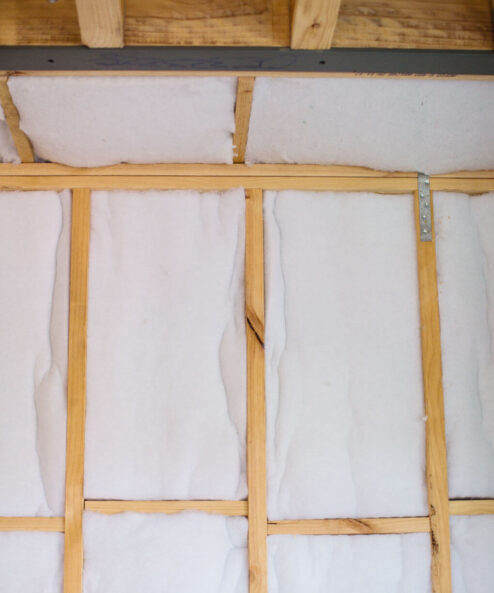
Using Vapour Permeable Wraps and Wall Insulation
Vapour permeable wraps and bulk wall insulation can be used together. Vapour barrier products prevent the entry of liquid water and reduce airflow through the membrane, reducing the transfer of moisture. Installing a vapour barrier can greatly reduce the risk of mould growth issues in climates especially prone to these issues. This product is suitable for installation behind both brick veneer and lightweight clad walls.
When using vapour permeable wrap and wall insulation together:
- Ensure you maintain an air space of at least 25 mm between the insulation batt and the vapour barrier.
- Make sure there is no gap between the insulation batts and the plasterboard, as this will reduce the effectiveness of the batts.
- Ensure the insulation is flush with the timber joists for optimal thermal performance.
It’s also important to choose the right insulation for your climate and construction type. The higher the R-value the greater the thermal performance and insulation ability.
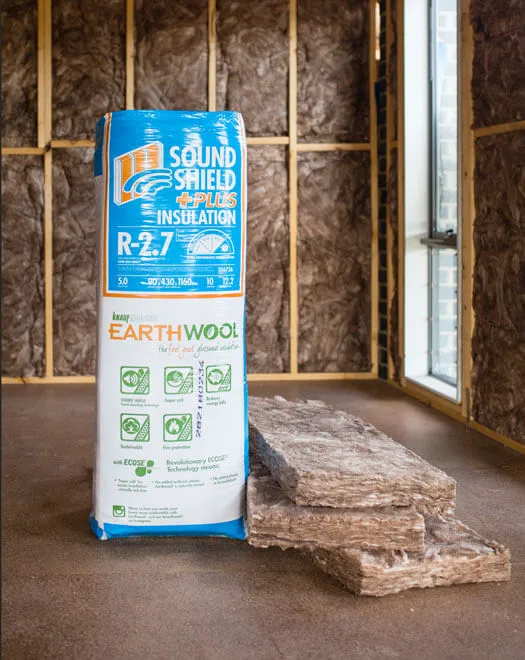
For concrete walls, we recommend using Kingspan Air-Cell Permiwall, while for cavities the best option would be Knauf Earthwool Insulation Batts. If you are planning on doing the job yourself, don’t forget to get a DIY install kit.
The 7-Star Energy Standard
What is the 7-Star Energy Standard?
Achieving the 7-Star Energy Standard, as defined by NatHERS (Nationwide House Energy Rating Scheme) in Australia, means that a home is designed to optimise energy use, particularly for heating and cooling, through innovative materials and smart construction practices. A key component of meeting this standard is the installation of high-quality insulation. Proper insulation minimises heat transfer, keeping homes warmer in winter and cooler in summer, which significantly reduces the reliance on artificial heating and cooling systems.
How It Relates to Condensation Control
Achieving a 7-star energy rating typically involves enhancing the home’s thermal performance by incorporating effective insulation, and adequate ventilation. These measures not only improve energy efficiency but also play a vital role in controlling condensation by stabilising indoor temperatures and managing humidity levels.
Don’t Let Condensation Ruin Your Comfort!
Using a vapour-permeable wrap alongside bulk wall insulation ensures a balance between thermal efficiency and effective moisture management. A well-insulated home incorporating a vapour barrier is your best defence against dampness and discomfort. Smart choices today can save you from soggy surprises tomorrow. Chat with our professional team and get the right insulation and advice to keep your home comfortable and condensation-free.
Featured ProductsBrowse All

Recent Blog Posts
Is Hemp Insulation a Viable Option?
As Australians look for smarter ways to build and renovate, sustainability is no longer a [...]
Mar

The Ultimate Guide to Draught Proofing Your Home
When the cold winds of winter sweep through, keeping your home warm and energy efficient [...]
Mar
What Is the Best Underslab Insulation Board to Buy in Australia?
When planning a new build or a major renovation in Australia, one of the most [...]
Feb
Anticon Blanket vs Sarking
When it comes to insulating Australian roofs, few topics spark as much debate as Anticon [...]
Feb
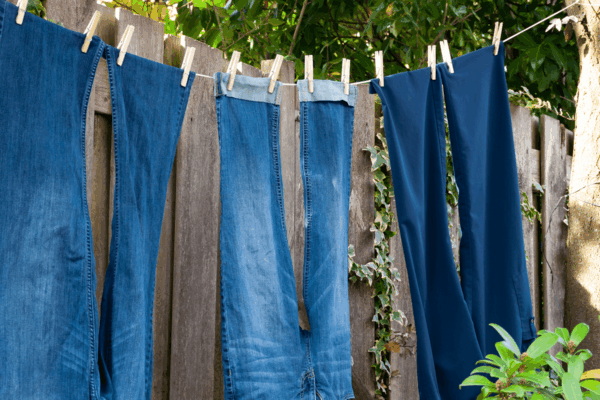
Is Recycled Denim Insulation Comparable to Traditional Insulation Materials?
As Australians become more conscious of sustainability, energy efficiency and indoor comfort, the materials we [...]
2 Comments
Dec
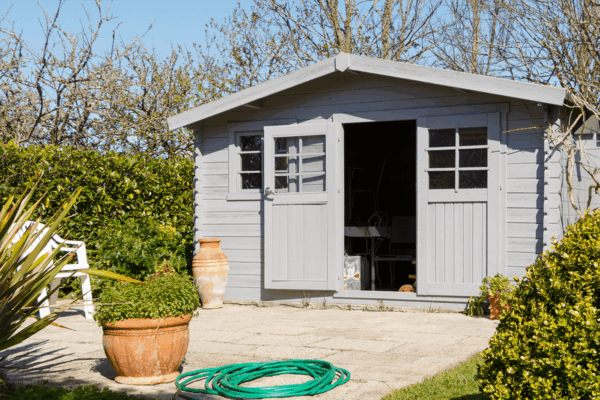
Insulation for Sheds – Common Questions Answered
Whether you’re converting your shed into a workshop, home office or hobby space, or simply [...]
Dec

How to Better Insulate Your Home for Summer
Keeping your home cool through an Australian summer can feel like a full-time job. Air [...]
Dec
Asbestos and Insulation
When it comes to older Australian homes, asbestos and insulation are two words that often [...]
Oct
Trying to prevent condensation on the bottom of a box gutter in the interior of building under construction. Very limited space to insulate under side of box gutter between trusses & supports.
Job location North Queensland 4884
Hi Jason,
Thanks for your question. Our insulation specialists recommend that you try installing Kingspan Air-Cell Insuliner around the box gutter. As you are limited by space this is a good option as its only 5mm thick. Make sure that you leave an airspace between the metal and the Insuliner to ensure that you achieve the R-value the product offers.
This product is available here:
https://pricewiseinsulation.com.au/product/kingspan-air-cell-insuliner/
Since you live in North Queensland, please get in touch with our customer service team to organise a delivery quote. You can reach them on 1300 729 639 or by emailing sales@pricewiseinsulation.com.au. Cheers!
Hi guys. If I was to remove the internal plasterboard to retrofit wall insulation is it still possible to use a vapour membrane or can this only be installed from the exterior side? It’s an old weatherboard home in regional Victoria, but the internal plaster is tired and worn out so thought I could kill two birds with one stone but don’t want to introduce a condensation issue in the process.
Hi Adam,
Thanks for your question. You can install permeable wall wrap from the inside the dwelling once the plaster has been removed. It’s simply a matter of cutting the permeable wall wrap to size and stapling it between each joist.
Feel free to contact us on 1300 729 639 or via email at sales@pricewise.com.au if you have any further questions.
Cheers,
Christa
My house is fully insulated and still getting condensation on my ceiling on a outside wall above window I’m thinking not enough soffit ventilation attic is hot in the summer and very cold in the winter